Apache NiFi 1.0.0 - Secure Site-To-Site
Site-to-Site makes it easy to securely and efficiently transfer data to/from nodes in one NiFi instance, to nodes in another NiFi instance. In this post we’ll look at how to setup a secure Site-to-Site transfer between two standalone instances.
Initial Configuration
We are going to create a similar setup from a previous post where we created a two-node secure cluster, except this time we will have two secure standalone instances.
Download NiFi 1.0.0 and create two copies of the NiFi distribution:
tar xzvf nifi-1.0.0-bin.tar.gz
mv nifi-1.0.0 nifi-1
cp -R nifi-1 nifi-2
Download the NiFi Toolkit and extract it:
tar xzvf nifi-toolkit-1.0.0-bin.tar.gz
We should now have the following directory structure:
ls -l
nifi-1
nifi-2
nifi-toolkit-1.0.0
Lets use the toolkit to generate the secure configuration for our two instances:
cd nifi-toolkit-1.0.0
./bin/tls-toolkit.sh standalone -c ca.nifi.apache.org -C 'CN=bbende, OU=ApacheNiFi' -n 'localhost(2)'
Copy the configuration into each NiFi instance:
cd ..
cp nifi-toolkit-1.0.0/target/localhost/* nifi-1/conf/
cp nifi-toolkit-1.0.0/target/localhost_2/* nifi-2/conf/
Edit nifi-1/conf/authorizers.xml and nifi-2/conf/authorizers.xml and set the Initial Admin Identity to DN of the client certificate generated by the toolkit:
<property name="Initial Admin Identity">CN=bbende, OU=ApacheNiFi</property>
We can now start both instances:
./nifi-1/bin/nifi.sh start && ./nifi-2/bin/nifi.sh start
At this point we should be able to get into the UI of both NiFi instances, assuming the client p12 generated earlier was imported into our browser.
Secure Site-To-Site
For this example we are going to have nifi-1 push data to an Input Port on nifi-2.
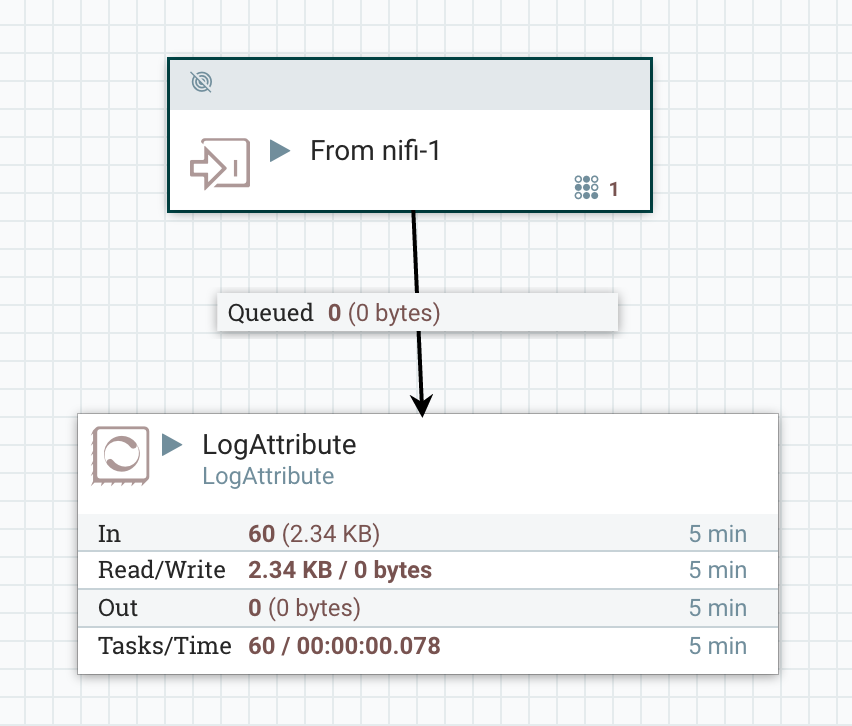
Lets create a simple flow on nifi-2 with an Input Port followed by a LogAttribute processor:
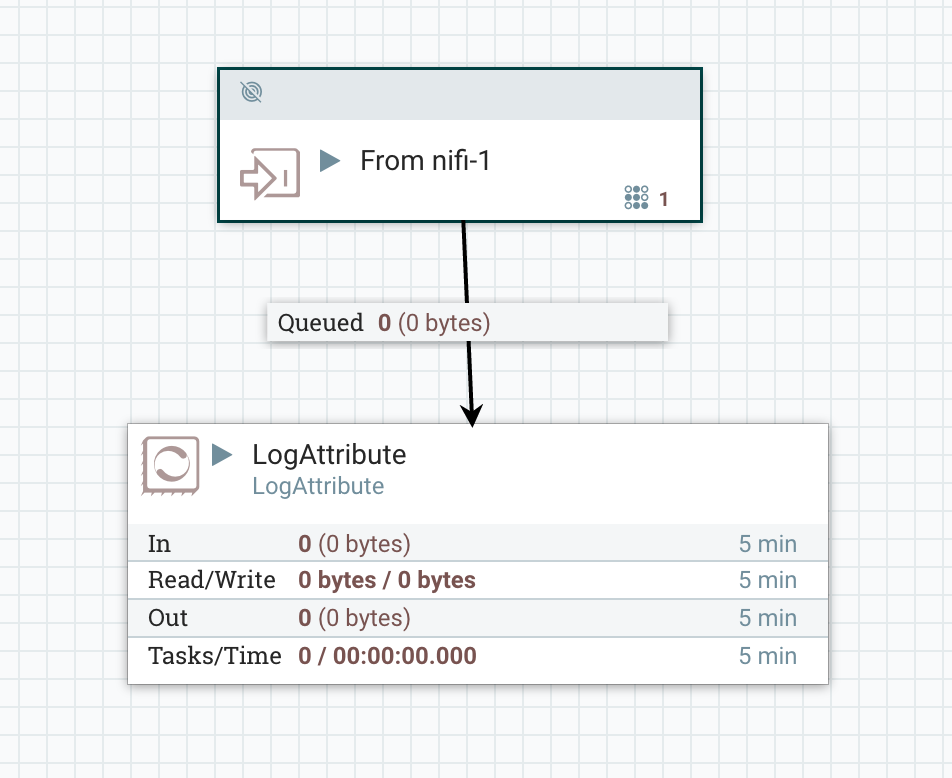
In nifi-1 lets create a Remote Process Group (RPG) and point it at the URL of nifi-2:
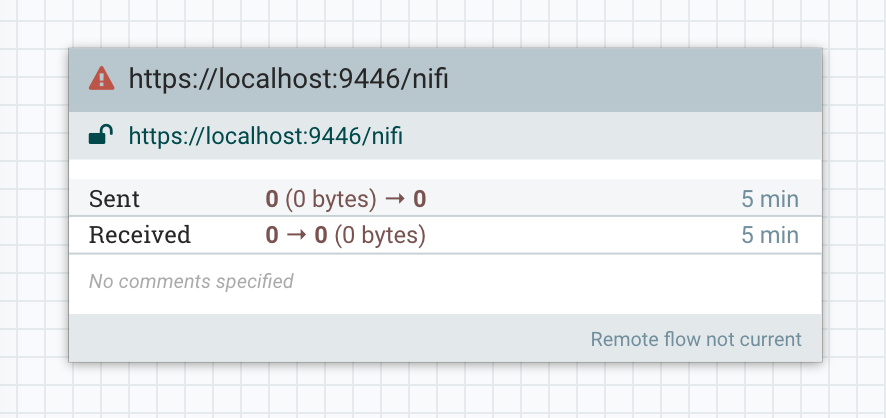
NOTE: I am running nifi-1 on port 9445, and nifi-2 on port 9446.
We can see a warning on the RPG that says “forbidden”. This is because nifi-1 is attempting to make a request to nifi-2 to retrieve site-to-site information, such as which ports are available and what protocol to use, but nifi-2 has not granted permission to nifi-1 to make this request.
Think of each NiFi instance as a user, and those users need policies to grant them access to perform the desired actions.
In nifi-2 create a user with the DN of the certificate being used by nifi-1, in my case this is “CN=localhost, OU=NIFI”:
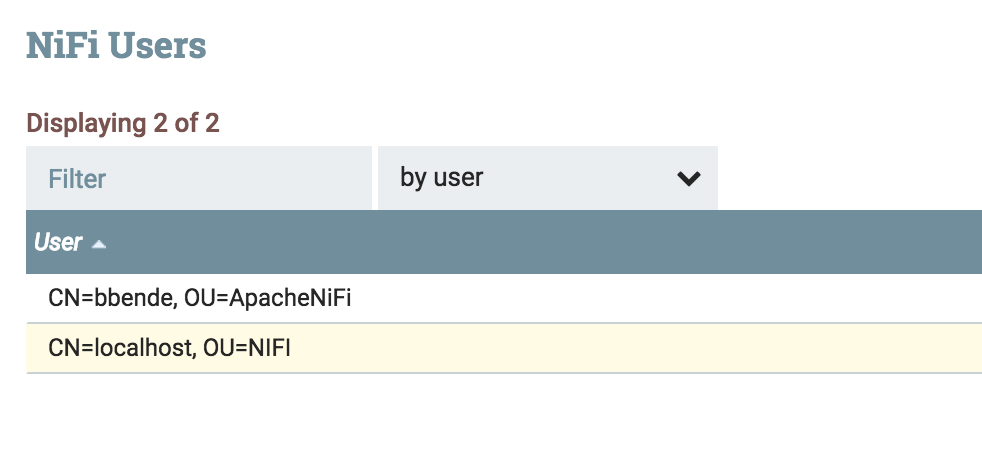
Now that we have a user for nifi-1, we can give that user access to retrieve Site-To-Site details.
From the global policies (top-right menu) we can select “retrieve site-to-site details” and create a new policy:
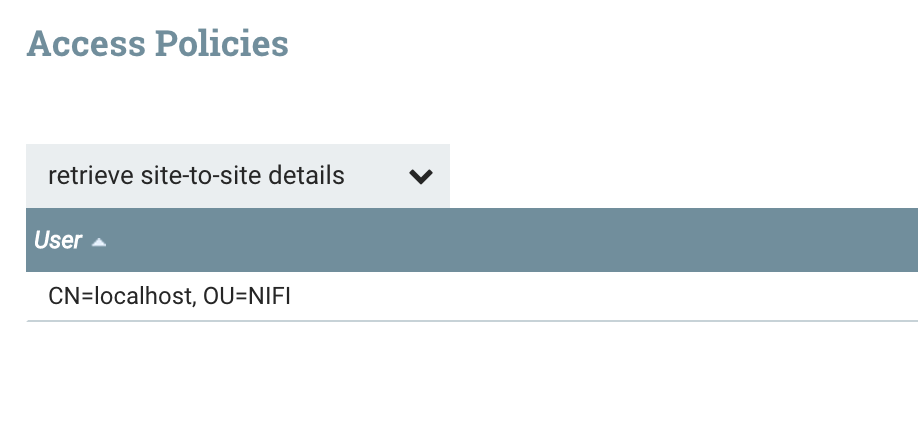
We also need to give nifi-1 access to the specific Input Port on nifi-2. So from nifi-2 we can select that Input Port and click the lock icon in the left palette to create a policy:

Now the RPG in nifi-1 should no longer have the forbidden warning, and should recognize the Input Port from nifi-2 (it can take a few seconds to update after creating the policies).
Lets create a simple flow to send some data to the RPG:
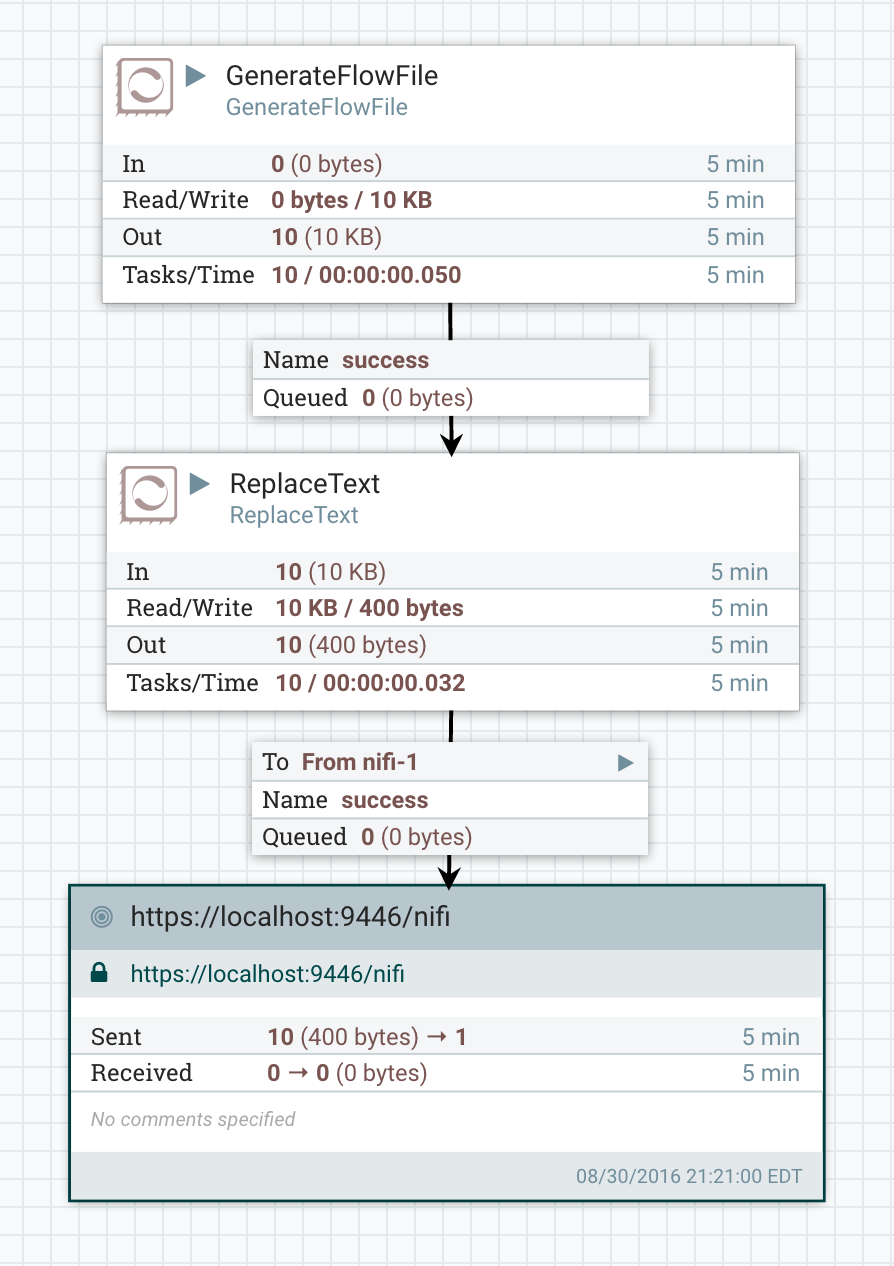
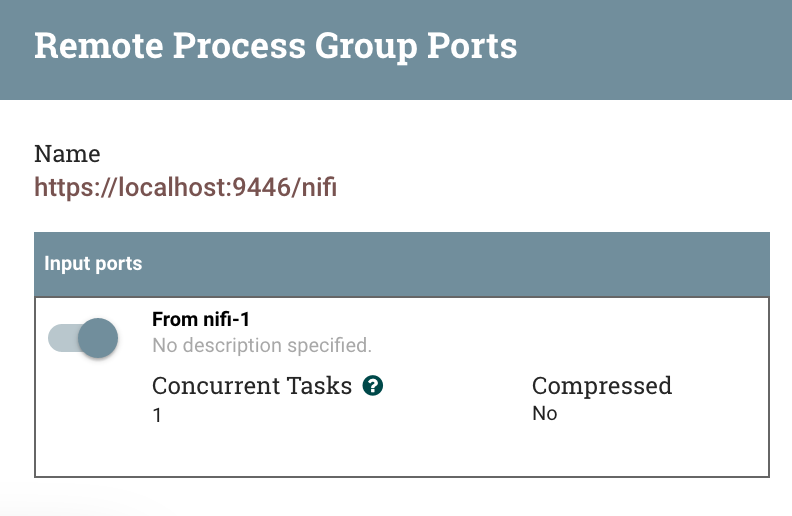
We also have to enable transmission on the RPG and turn on transmission to the Input Port. Right-click on the RPG and select Remote Ports, and toggle the on/off switch:
If we start the flow on nifi-1 we should start seeing data being sent through the RPG and showing up in nifi-2:
Summary
This post demonstrates how to create two secure NiFi instances with a secure data transfer between them. NiFi’s authorization model allows each instance to control which resources another instance has access to via site-to-site. In a multi-tenant environment this allows a NiFi instance to ensure that another instance can only send data to an Input Port it has access to, or receive data from an Output Port it has access to.
blog comments powered by Disqus