Apache NiFi - How do I deploy my flow?
- Introduction
- Example Scenario
- Environment Setup
- Development Flow
- Starting Version Control
- Deploying to Production
- Modifying the Flow
- Updating Production
- Summary
Introduction
One of the most frequently asked questions about NiFi has been “How do I deploy my flow?”.
A core feature of NiFi is that you can modify the live data flow without having to perform the traditional design and deploy steps. As a result, the idea of “deploying a flow” wasn’t really baked into the system from the beginning.
Over time there were some attempts at solving this problem, such as putting the flow.xml.gz under version control, or scripting the deployment of templates, but each of these had it’s own issues and difficulties.
In order to solve the problem, the community put a significant amount of effort into building direct support for version control of data flows. The result of this effort was the creation of a whole new Apache NiFi sub-project, called NiFi Registry.
NiFi Registry is a complementary application that provides a central location for storage and management of shared resources. The first release focused on storing and managing versioned flows, and the 1.5.0 release of NiFi added the ability to interact with registry instances.
The rest of this post is going to use an example scenario to show how these new capabilities can be used to solve the deployment problem.
Example Scenario
For this example, we are going to use data from https://randomuser.me which offers a nice way to generate some test data resembling a users table from a database.
To generate some sample data we can run the following curl command:
curl "https://randomuser.me/api/?format=csv&results=10&inc=name,email,registered&nat=us" > users-10.csv
Looking at this data we should see something like the following:
name.title,name.first,name.last,email,registered
ms,lily,sims,[email protected],2010-10-13 04:37:29
ms,marion,elliott,[email protected],2009-06-14 16:40:00
...
For the sake of this example, lets say we have the following requirements:
- Use NiFi to ingest this data to Solr
- Convert the data from CSV to JSON
- Add a full_name field with the combination of first name + last name
- Add a gender field based on the title (i.e. Mr. = MALE)
- Ingest to different Solr collections depending on environment
To simulate this scenario we are going to setup a Solr instance with collections for DEV and PROD, separate NiFi instances for DEV and PROD, and a NiFi Registry instance to share our flow between environments.
Environment Setup
-
Download artifacts
-
Extract all the archives in a directory, and create two copies of NiFi
nifi-1.5.0-1 nifi-1.5.0-2 nifi-registry-0.1.0 solr-7.2.1 -
Edit nifi-1.5.0-2/conf/nifi.properties and set a different web port
nifi.web.http.port=7080 -
Create directories for NiFi to ingest files from
mkdir nifi-1.5.0-1/data mkdir nifi-1.5.0-2/data -
Start everything
./solr-7.2.1/bin/solr start -c ./nifi-registry-0.1.0/bin/nifi-registry.sh start ./nifi-1.5.0-1/bin/nifi.sh start ./nifi-1.5.0-2/bin/nifi.sh start -
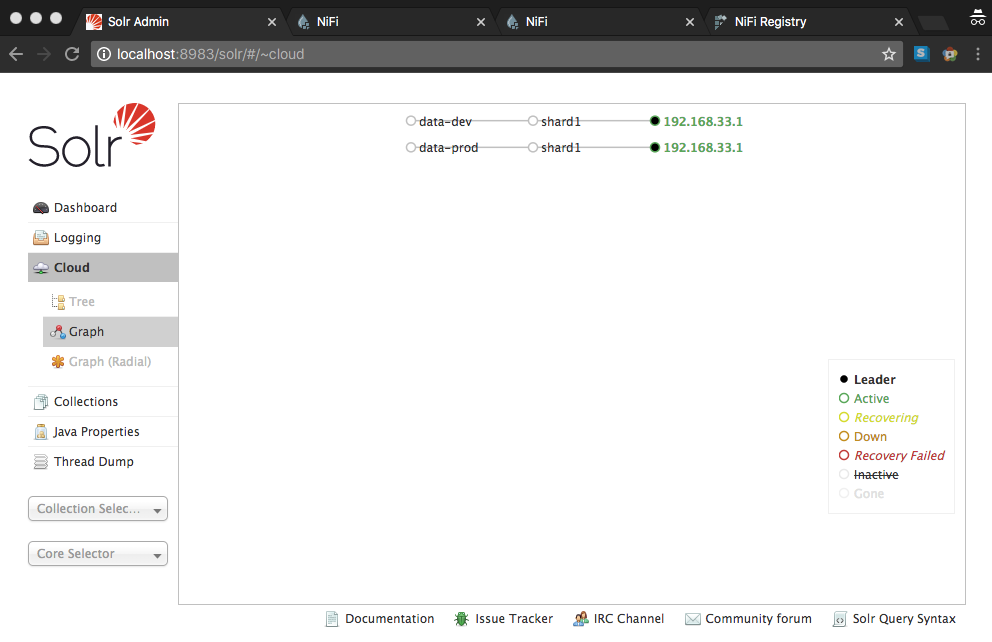
Create Solr collections for DEV and PROD
./solr-7.2.1/bin/solr create -c data-dev -n \_default ./solr-7.2.1/bin/solr create -c data-prod -n \_default -
Verify Solr collections created successfully
-
All of the applications should now be up and running at the following locations:
Development Flow
To get started, download the template below and import to the development NiFi instance (port 8080):
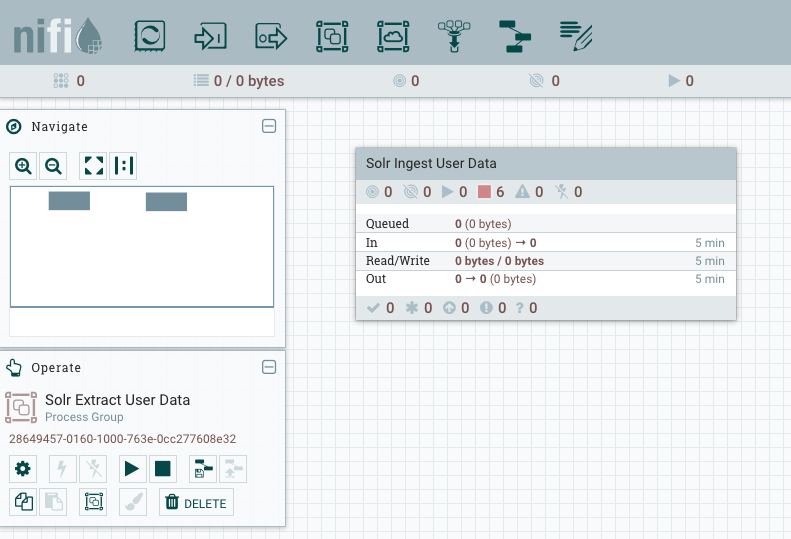
After importing the template you should be able to instantiate it and end up with the following process group:
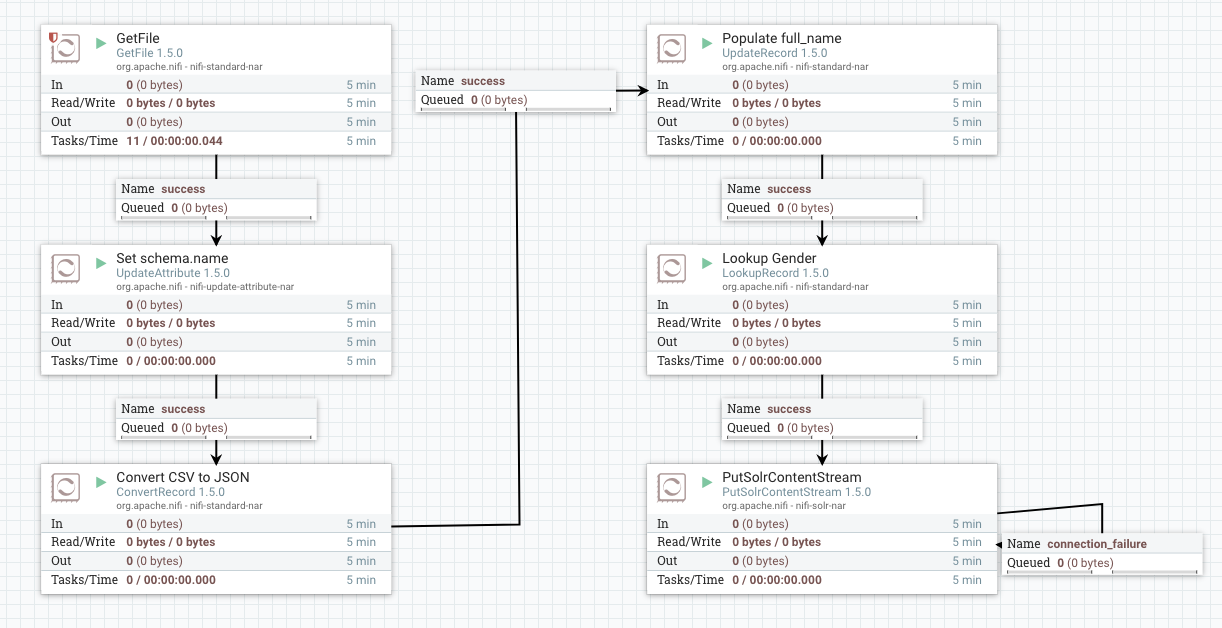
Going into this process group should show the following flow:
NOTE: You will have to enable all of the controller services and start all of the processors to get everything running after instantiating the template.
In order to process the data we are going to use some record-based processors which means we need a schema. The schema we are going to use is shown below and is defined in the AvroSchemaRegistry controller service.
{
"type": "record",
"name": "user",
"fields": [
  { "name": "title", "aliases" : [ "name.title" ], "type": "string" },
  { "name": "first_name", "aliases" : [ "name.first" ], "type": "string" },
  { "name": "last_name", "aliases" : [ "name.last" ], "type": "string" },
  { "name": "full_name", "type": ["string", "null"] },
  { "name": "gender", "type": ["string", "null"] },
  { "name": "email", "type": "string" },
  { "name": "registered", "type": "string" }
]
}
Notice that gender and full_name are nullable since they are not part of our initial data and we are going to populate them later.
We’re not going to look at the configuration of every processor, but here is a brief description of what each processor is doing:
- GetFile is picking up files in ./data under the give NiFi’s home directory
- UpdateAttribute adds a “schema.name” attribute with a value of “user”
- ConvertRecord uses a CSV reader and JSON writer to convert from CSV to JSON
- UpdateRecord populates the full_name field by concatenating first_name and last_name
- LookupRecord populates the gender field by passing the value of the title field to a lookup service
- PutSolrContentStream sends the data to Solr
For the Solr processor, the Collection property is set to ${solr.collection} which is referencing a variable. If we right-click on the canvas somewhere and select “Variables”, we can see the definition of this variable.
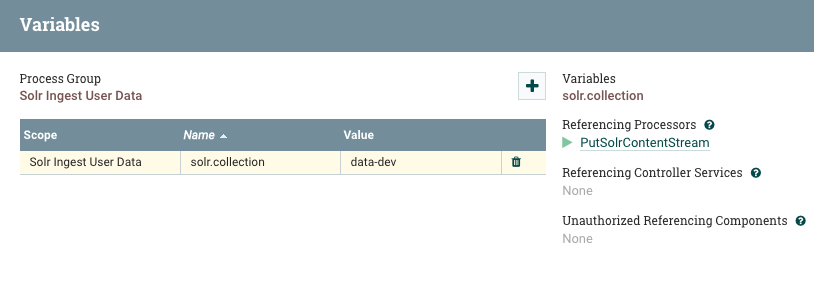
We can test ingesting some data by copying the users-10.csv from earlier to the development NiFi’s ingest directory:
cp users-10.csv nifi-1.5.0-1/data
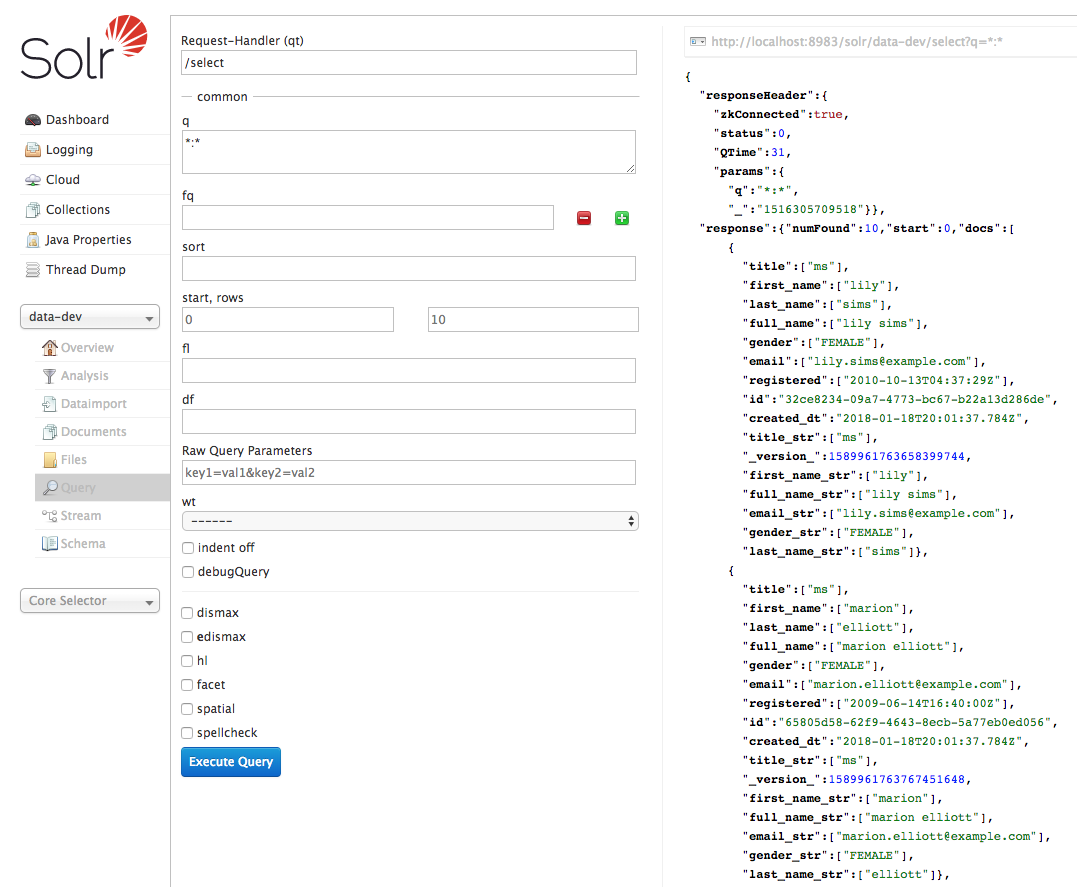
We can then verify the data was ingested to the data-dev collection in Solr:
Starting Version Control
Now that we have everything working in our development environment, we want to deploy this flow to production. In order to do that we are going to put our flow under version control using NiFi Registry.
To get started we need to create a bucket in our NiFi Registry instance. Buckets are a way to organize items in the registry, and serve as mechanism to assign permissions when running securely.
Clicking the tool icon in the top-right of the registry brings us to the bucket administration panel, and from there we can create a new bucket called “Solr Flows”.

Back in our development NiFi (port 8080), we need to tell NiFi about our registry instance. We can do that from Controller Settings under the menu in the top-right corner, by selecting the Registry Client tab and adding a new client.

Once there is a registry client defined, there will be a “Version” menu available when right-clicking on process groups.
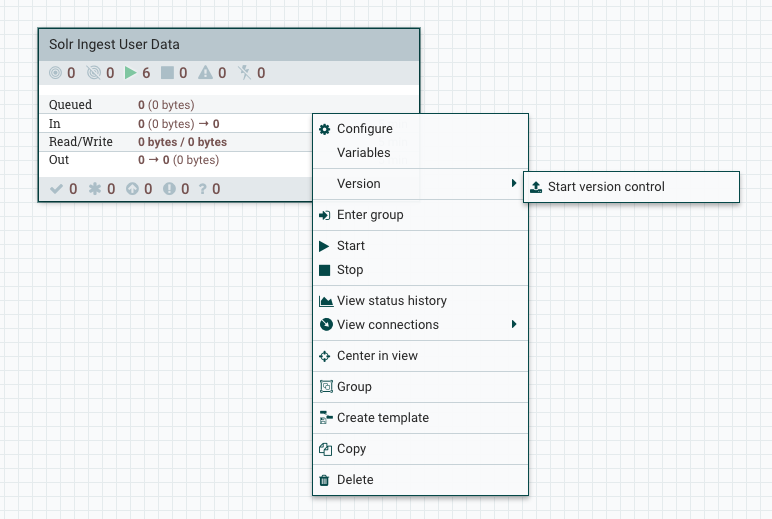
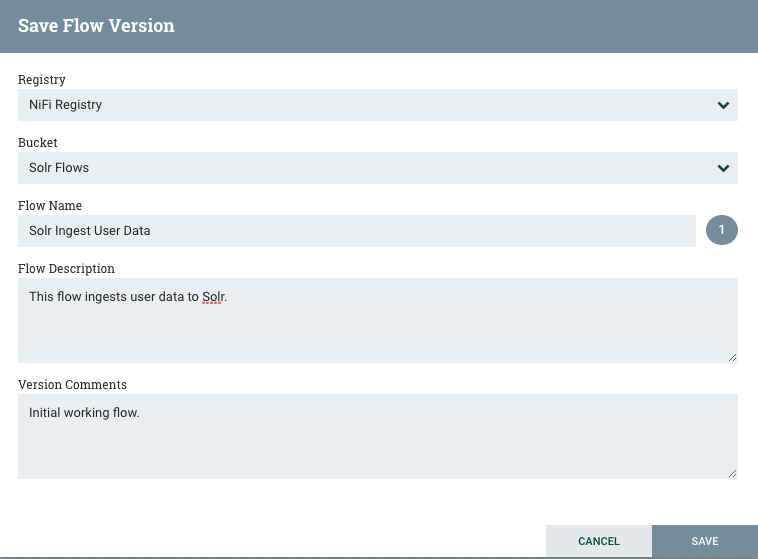
Selecting “Start version control” will prompt us to select a registry instance, choose a bucket, and give our flow a name and description to save in the registry.
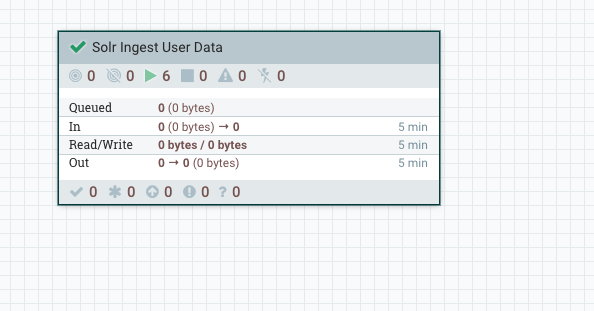
Clicking Save will send the first version of this flow to our registry instance. We can also see that our process group is under version control and in-sync with the latest version in the registry.
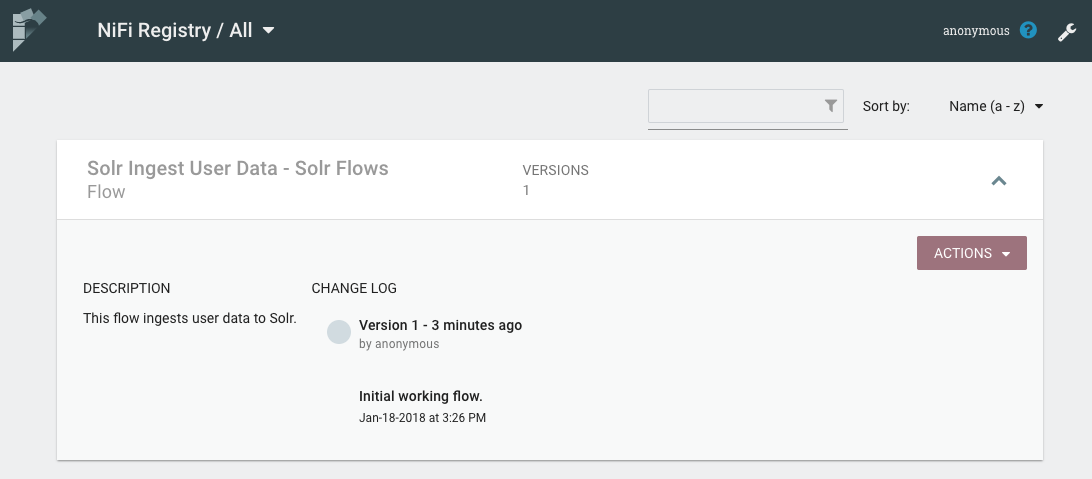
Refreshing the main page of the registry, we can see the version history for our flow.
Deploying to Production
Now that we have our flow under version control and saved to the registry, we just need to import that flow into our production NiFi (port 7080).
Follow the same steps from the previous section to define the registry client in our production NiFi.
After defining the registry client, we can drag a process group on to the canvas, and see a new option to create a process group by importing a versioned flow.
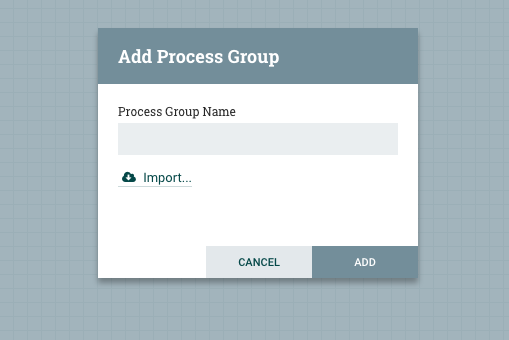
Selecting “Import” will prompt us to select the registry, bucket, flow, and version to import.
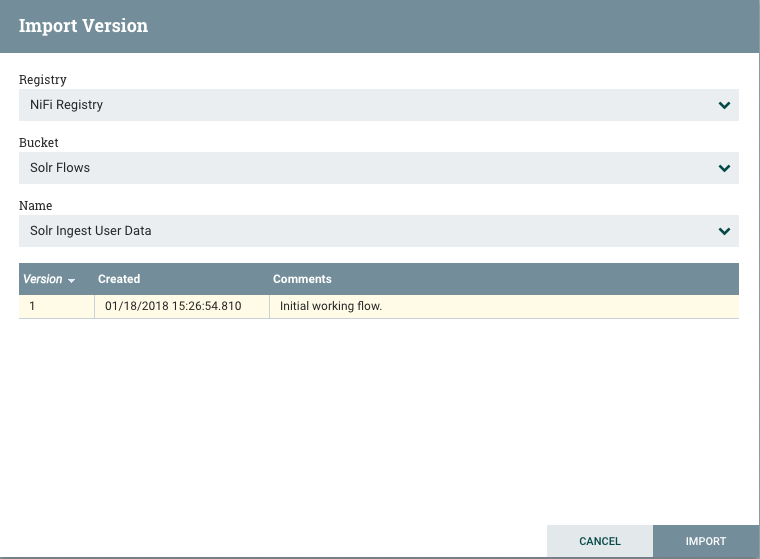
After selecting our flow, we now have the exact same flow in our production environment.
Remember that we want to use a different Solr collection in production, so we need to edit the variables so that ${solr.collection} points to our production collection (data-prod).

We also have to enable all of the controller services and start all of the processors to get the flow running.
NOTE: These two operations of editing variables and enabling/starting components are only necessary on the first import to get everything setup. On future updates these values will be retained.
With everything running, we can now copy the users-10.csv file to the data directory under the production NiFi:
cp users-10.csv nifi-1.5.0-2/data/
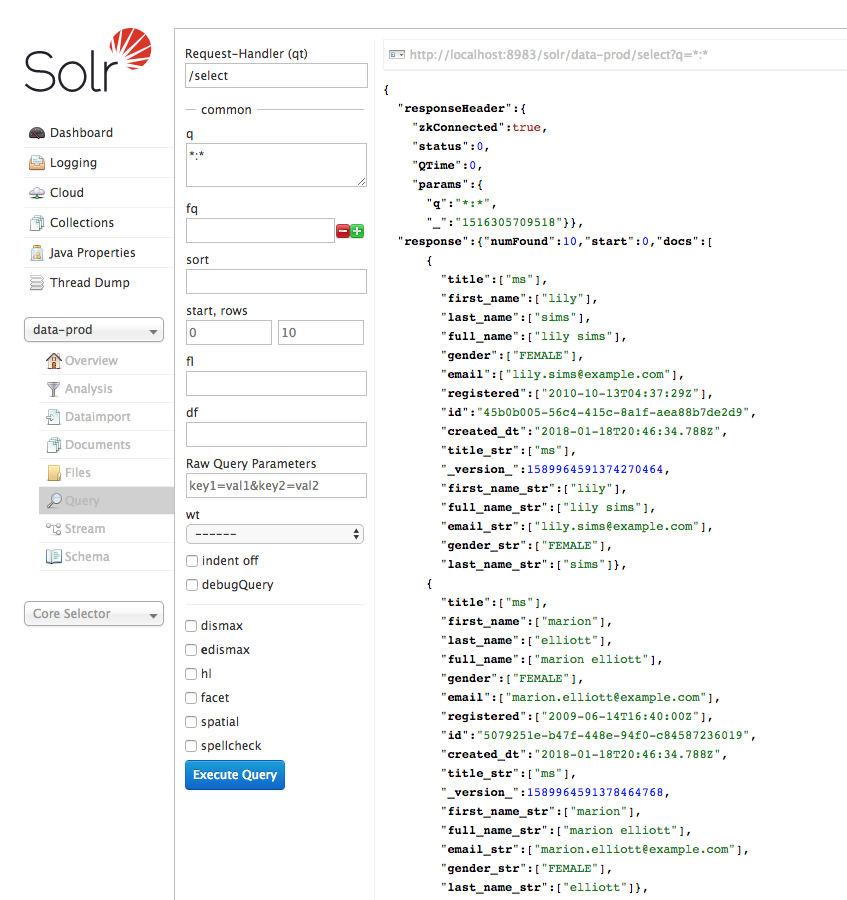
Checking the data-prod collection in Solr, we can now see the data was ingested to our production collection.
Modifying the Flow
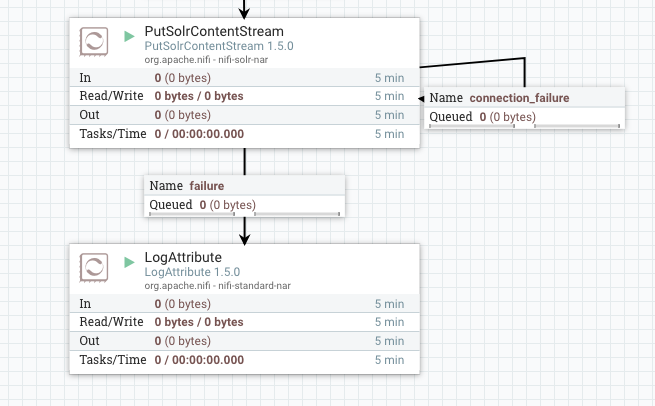
After having our flow running for some time, we may decide to change the way errors are handled on the Solr processor. So we head back to our development NiFi and connect the failure relationship of PutSolrContentStream to a LogAttribute processor, instead of being auto-terminated.
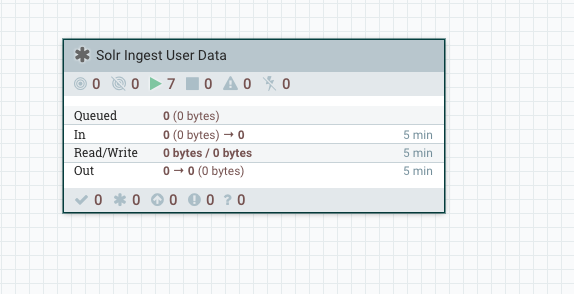
Looking at our process group, we now see a different icon indicating that local changes have been made and our flow is no longer in-sync with the latest version in the registry.
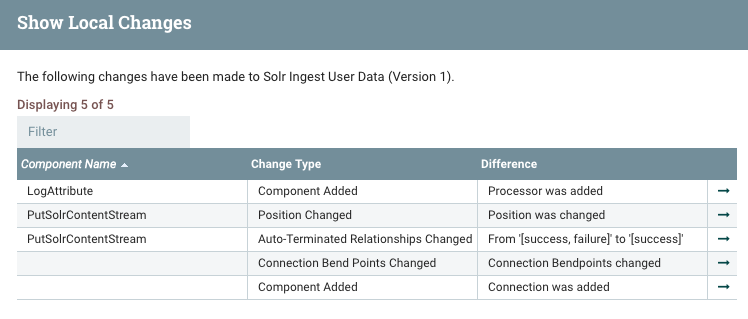
From the Version menu, selecting “Show local changes” displays a list of everything that has changed since the last version.
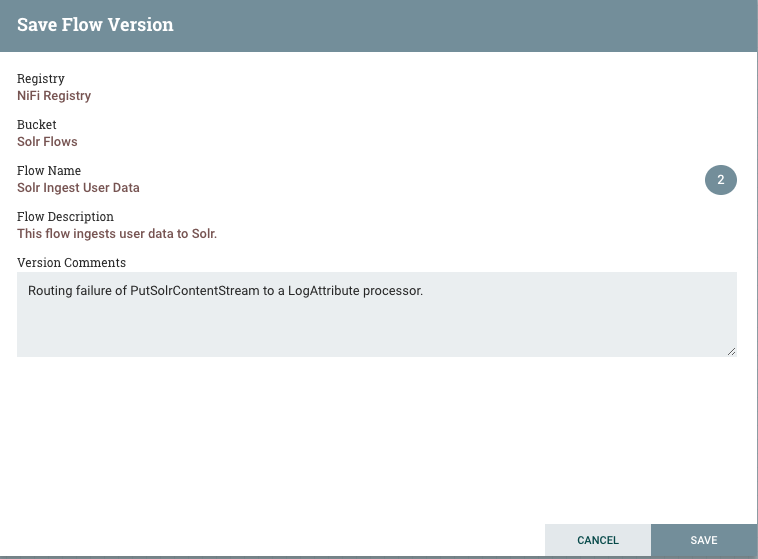
When local changes have been made, we can either revert to get back to the last version, or commit to save the changes. In this case, we want to commit the changes so we can deploy them to production.
The registry now shows there are two versions of our flow.
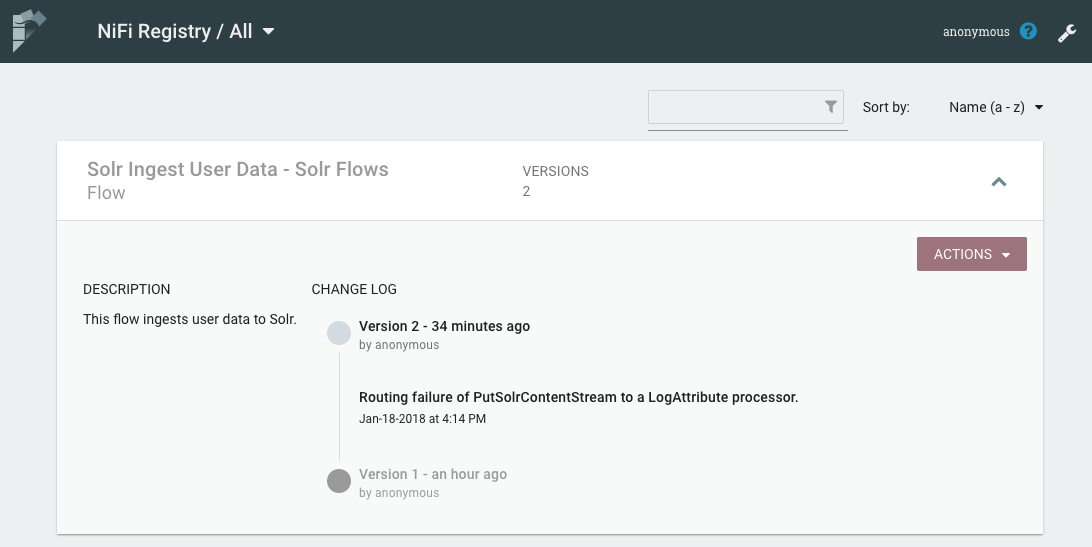
Updating Production
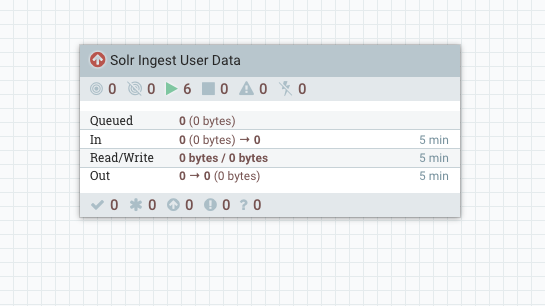
From our production NiFi, we now see that a newer version of our flow is available.
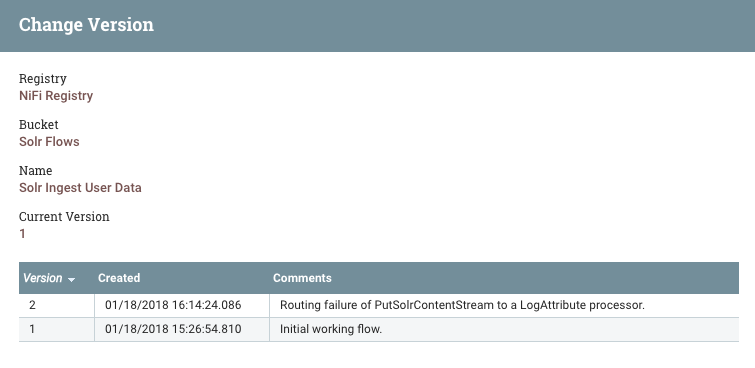
From the Version menu, we select “Change version” to upgrade to the newer version.
After changing to the new version, we see the new LogAttribute processor connected to PutSolrContentStream.
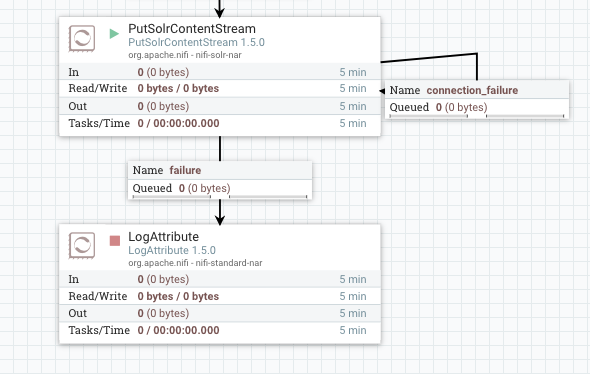
Notice the LogAttribute processor needs to be started because it was added as part of the update, but all other components remain running, and the variable change made earlier for the production Solr collection remained in place.
Summary
Hopefully this gave a good introduction on how to leverage the new capabilities provided by NiFi and NiFi Registry.
For additional information, check out the following resources:
blog comments powered by Disqus