Apache NiFi SAML Authentication with Keycloak
One of the features I worked on for the 1.13.0 release of NiFi was the ability to authenticate via a SAML identity provider (IDP). In this post I’ll show how you can setup NiFi to use Keycloak as the SAML IDP.
Initial NiFi Setup
In order to perform any type of authentication, we first need a secured NiFi instance. There are already many posts that cover this topic, so the starting point will be assuming that you can configure NiFi with a keystore, truststore, and https host/port.
These are the following properties that would need to be modified from the default config:
nifi.remote.input.secure=true

nifi.web.http.host=
nifi.web.http.port=

nifi.web.https.host=localhost
nifi.web.https.port=8443

nifi.security.keystore=/path/to/keystore.jks
nifi.security.keystoreType=JKS
nifi.security.keystorePasswd=changeit
nifi.security.keyPasswd=changeit

nifi.security.truststore=/path/to/truststore.jks
nifi.security.truststoreType=JKS
nifi.security.truststorePasswd=changeit
Keycloak Setup
Download the latest version of Keycloak and extract it somewhere. For this post I am using 12.0.2, but any recent version should be similar. After extracting, start Keycloak using the following command:
cd keycloak-12.0.2
./bin/standalone.sh -Djboss.socket.binding.port-offset=100
The port-offset is an easy way to increment the default port by 100 to avoid conflicts with other services that may already be using the default port. This makes the default port 8180, instead of 8080.
Navigate to http://localhost:8180 in your browser and follow the instructions to create an admin user for the Administration Console. After that, click the link for the Administration Console and login with the newly created user.
In the admin console, select Clients from the menu on the left, and then click the Create button to add a new client. Enter a Client ID (we’ll need this later when configuring NiFi), select SAML as the Client Protocol, and click Save.
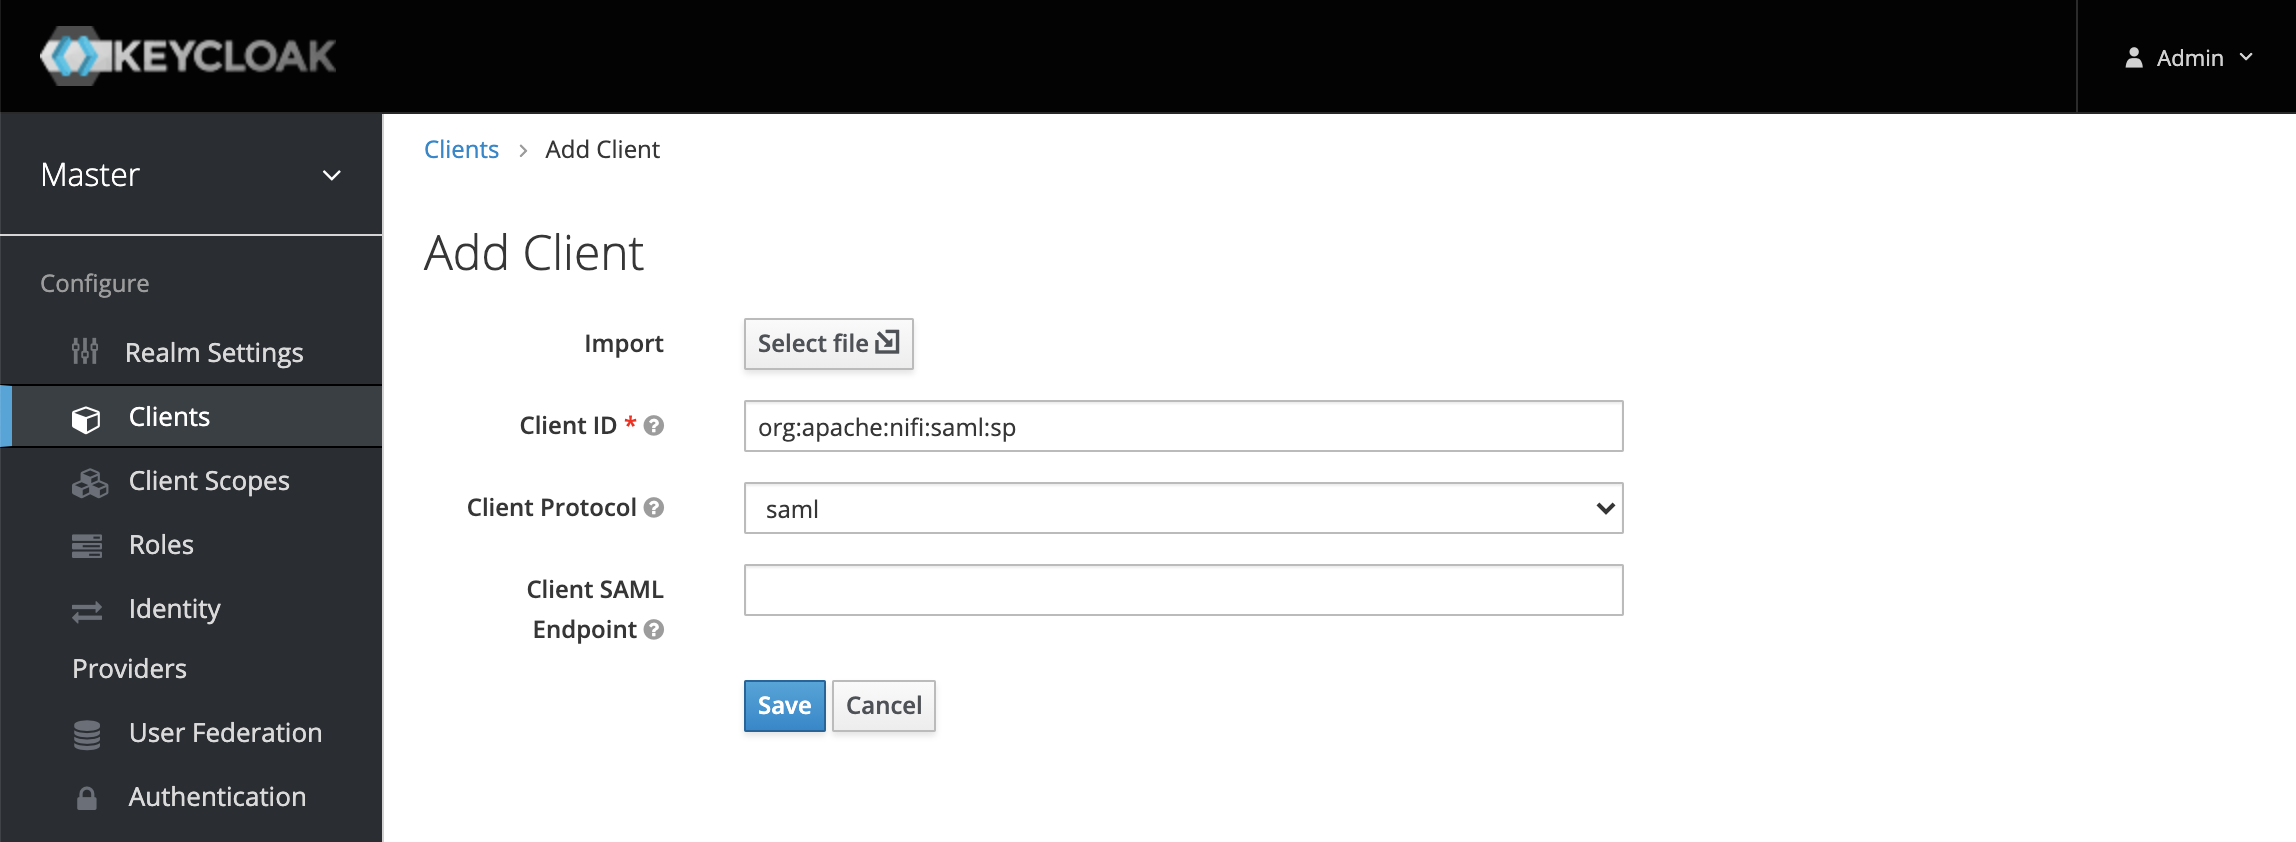
There are a lot of options that can be configured, but we’ll mostly stick with defaults for now and focus on the minimal configuration to get a working setup.
Configure Root URL, Valid Redirect URIs, Base URL, and Master SAML Processing URL as follows:

Since NiFi’s SAML implementation doesn’t use a single processing URL, we also need to configure the fine-grained SAML URLs. The values for the URLs should look like the following:

We also need to tell Keycloak about the key that NiFi is going to use to sign SAML requests. So click on the SAML Keys tab, and then click Import. We are going to import from the keystore.jks that was used in nifi.properties.
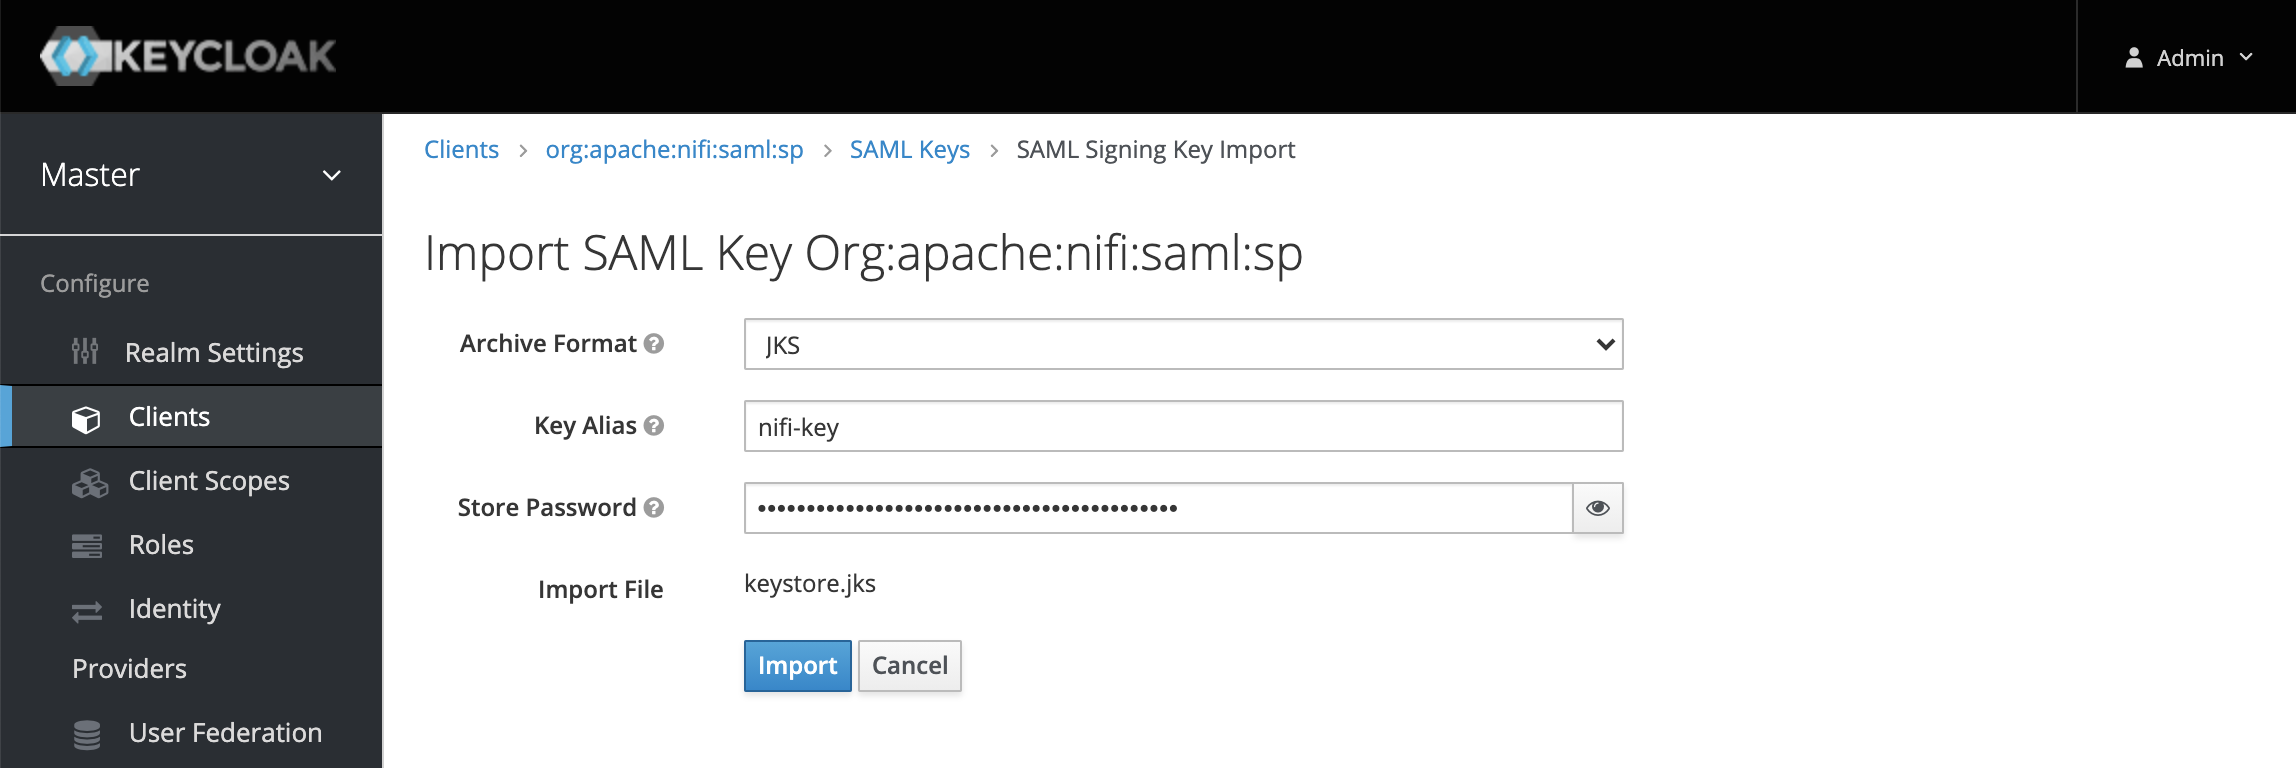
We now need to create some users to authenticate with for testing. So click Users from the menu on the left and then click the Create button to add a user.
Enter user1 as the username and click Save. On the Credentials tab for user1, set a password and toggle Temporary to OFF. Repeat this same process to create another user named user2.

Next we’ll complete the NiFi SAML configuration to use Keycloak.
NiFi SAML Configuration
In nifi.properties you should see the following section of SAML related properties:
# SAML Properties #
nifi.security.user.saml.idp.metadata.url=
nifi.security.user.saml.sp.entity.id=
nifi.security.user.saml.identity.attribute.name=
nifi.security.user.saml.group.attribute.name=
nifi.security.user.saml.metadata.signing.enabled=false
nifi.security.user.saml.request.signing.enabled=false
nifi.security.user.saml.want.assertions.signed=true
nifi.security.user.saml.signature.algorithm=http://www.w3.org/2001/04/xmldsig-more#rsa-sha256
nifi.security.user.saml.signature.digest.algorithm=http://www.w3.org/2001/04/xmlenc#sha256
nifi.security.user.saml.message.logging.enabled=false
nifi.security.user.saml.authentication.expiration=12 hours
nifi.security.user.saml.single.logout.enabled=false
nifi.security.user.saml.http.client.truststore.strategy=JDK
nifi.security.user.saml.http.client.connect.timeout=30 secs
nifi.security.user.saml.http.client.read.timeout=30 secs
We need to set the metadata URL to the location of Keycloak’s SAML metadata so that NiFi can retrieve this metadata during start-up. We also need to set the entity id to the value we used for the Client ID when creating the SAML client in Keycloak.
nifi.security.user.saml.idp.metadata.url=http://localhost:8180/auth/realms/master/protocol/saml/descriptor
nifi.security.user.saml.sp.entity.id=org:apache:nifi:saml:sp
The last thing we need to do is configure NiFi’s authorizers.xml. We will use the file-based providers for this example, so we need to setup an initial user and initial admin that corresponds to one of the users we added to Keycloak. We’ll use user1 here.
<userGroupProvider>
    <identifier>file-user-group-provider</identifier>
    <class>org.apache.nifi.authorization.FileUserGroupProvider</class>
    <property name="Users File">./conf/users.xml</property>
    <property name="Legacy Authorized Users File"></property>
    <property name="Initial User Identity 1">user1</property>
</userGroupProvider>

<accessPolicyProvider>
    <identifier>file-access-policy-provider</identifier>
    <class>org.apache.nifi.authorization.FileAccessPolicyProvider</class>
    <property name="User Group Provider">file-user-group-provider</property>
    <property name="Authorizations File">./conf/authorizations.xml</property>
    <property name="Initial Admin Identity">user1</property>
    <property name="Legacy Authorized Users File"></property>
    <property name="Node Identity 1"></property>
    <property name="Node Group"></property>
</accessPolicyProvider>
At this point we can go ahead and start NiFi…
cd nifi-1.13.0
./bin/nifi.sh start
Open your browser and navigate to https://localhost:8443/nifi which should redirect you to the Keycloakd login page. Enter the credentials for user1 and click Sign In.
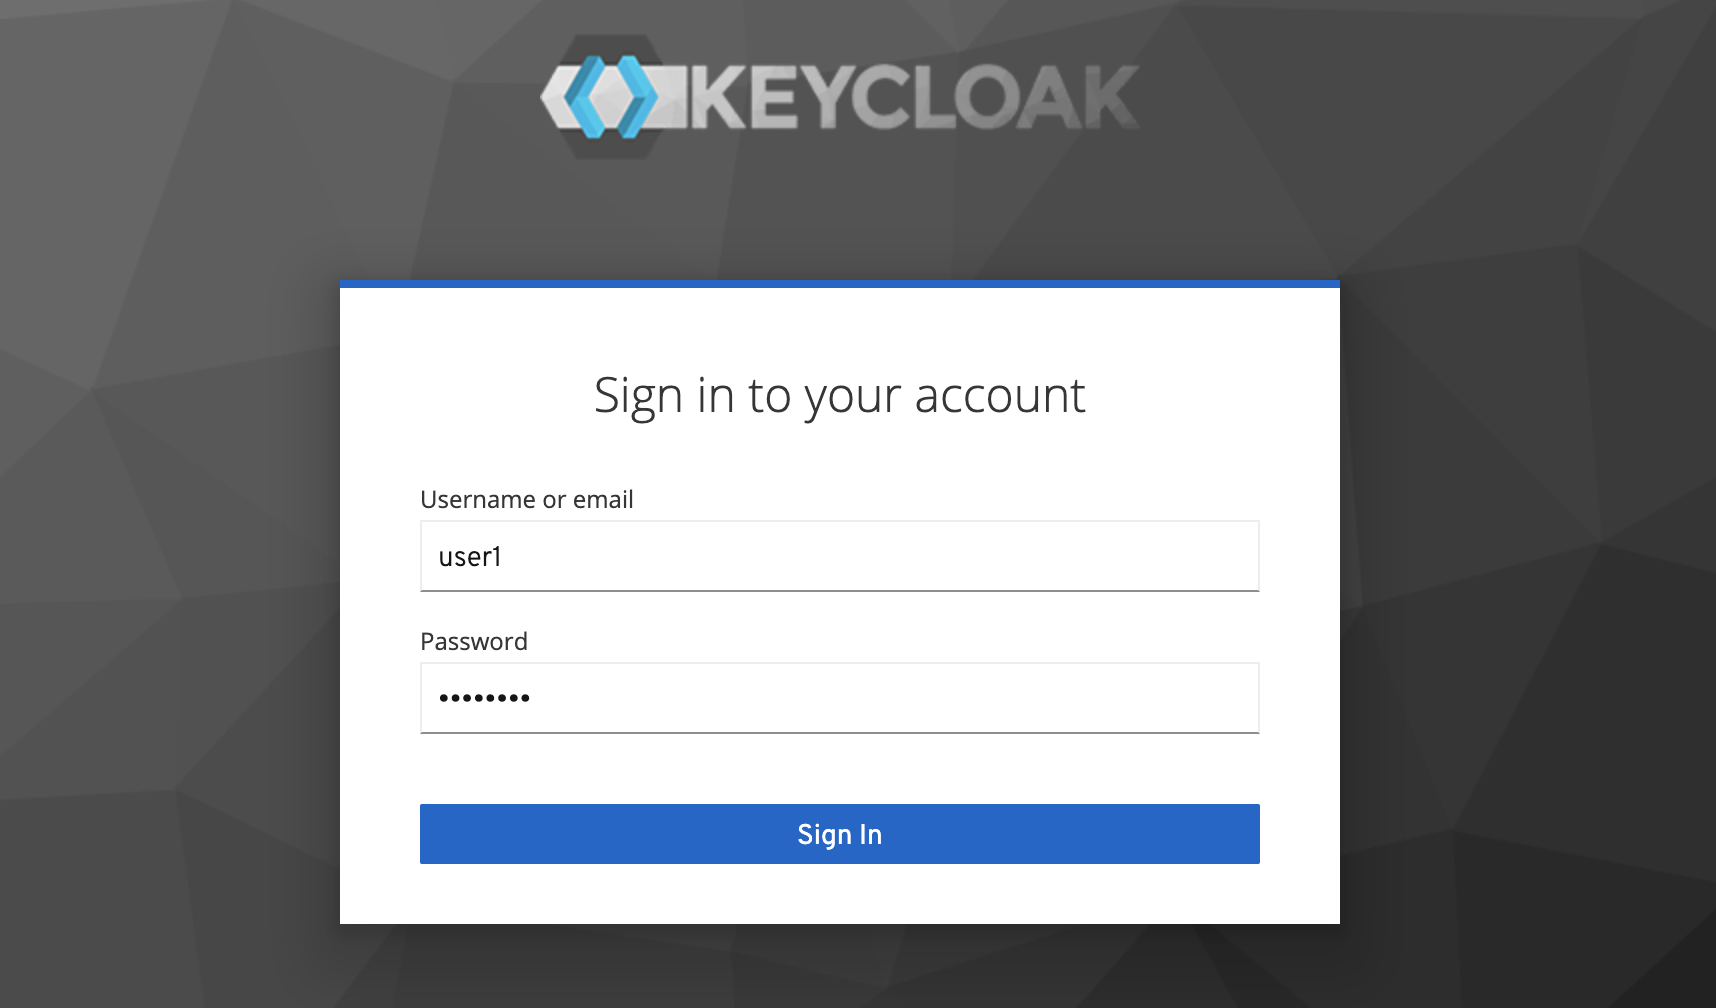
This should send you back to the NiFi UI where you are authenticated as user1.
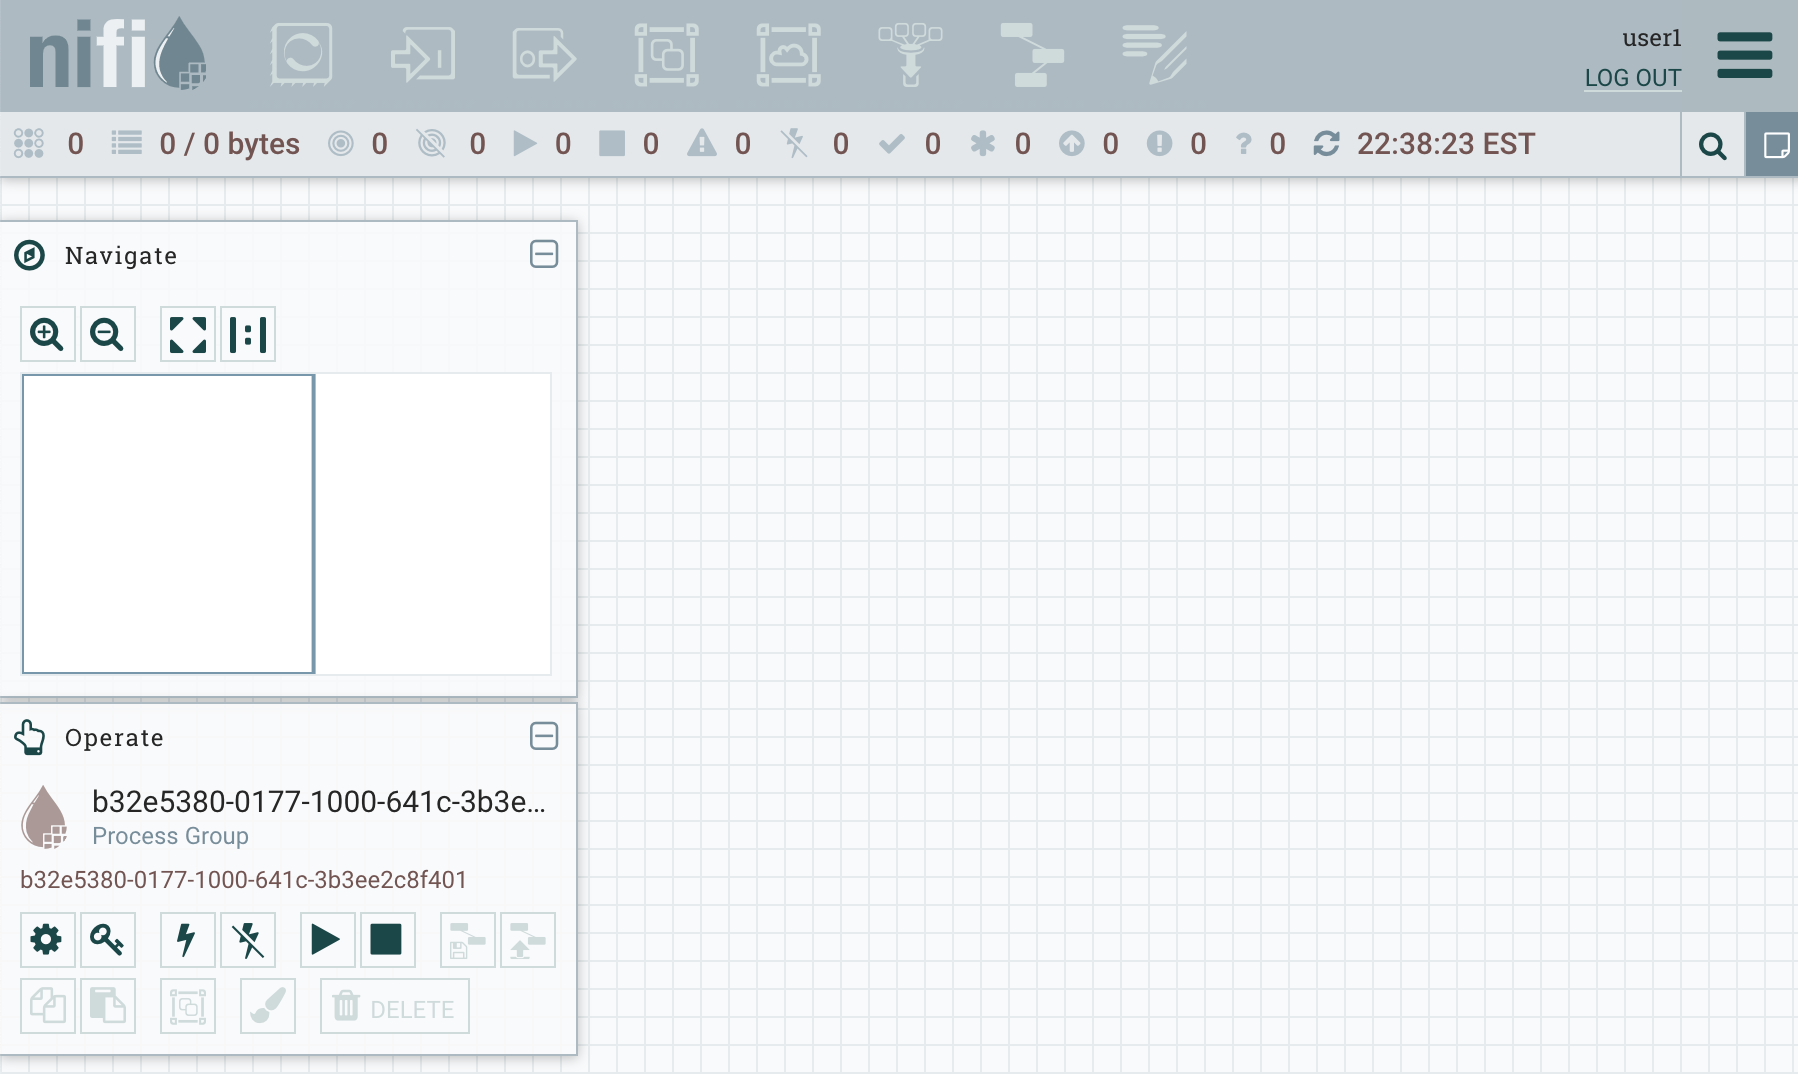
You will notice the toolbar is disabled. This is because the current user doesn’t have any permissions to the root process group. We could create a policy and grant access to user1, but instead of giving just one user access, let’s use group-based policies.
Group Setup
In order to create group-based policies, we first need to create groups that our users can be associated with.
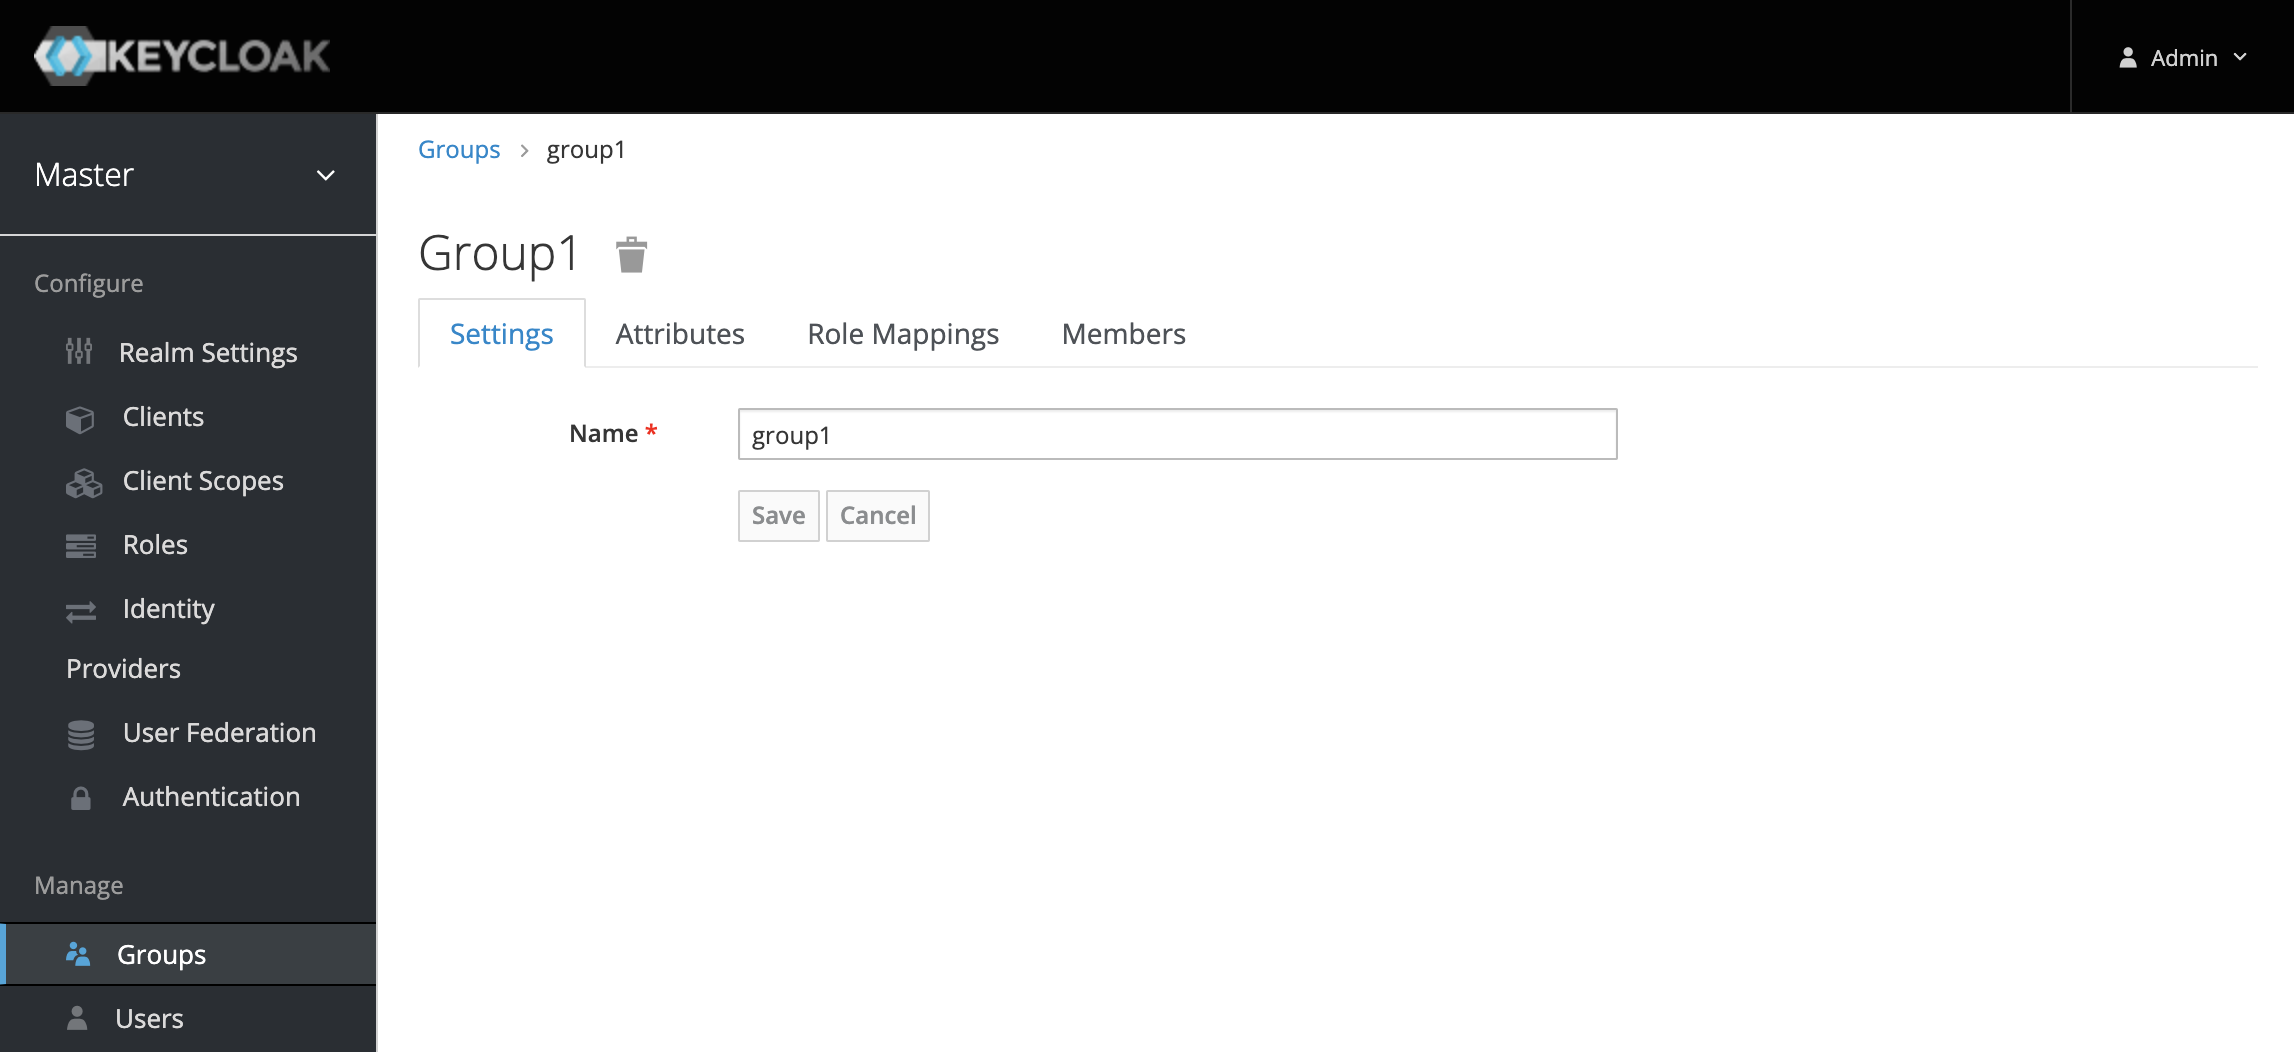
So click Groups from the menu on the left and then click New to create a new group. Enter group1 as the group name and click Save.
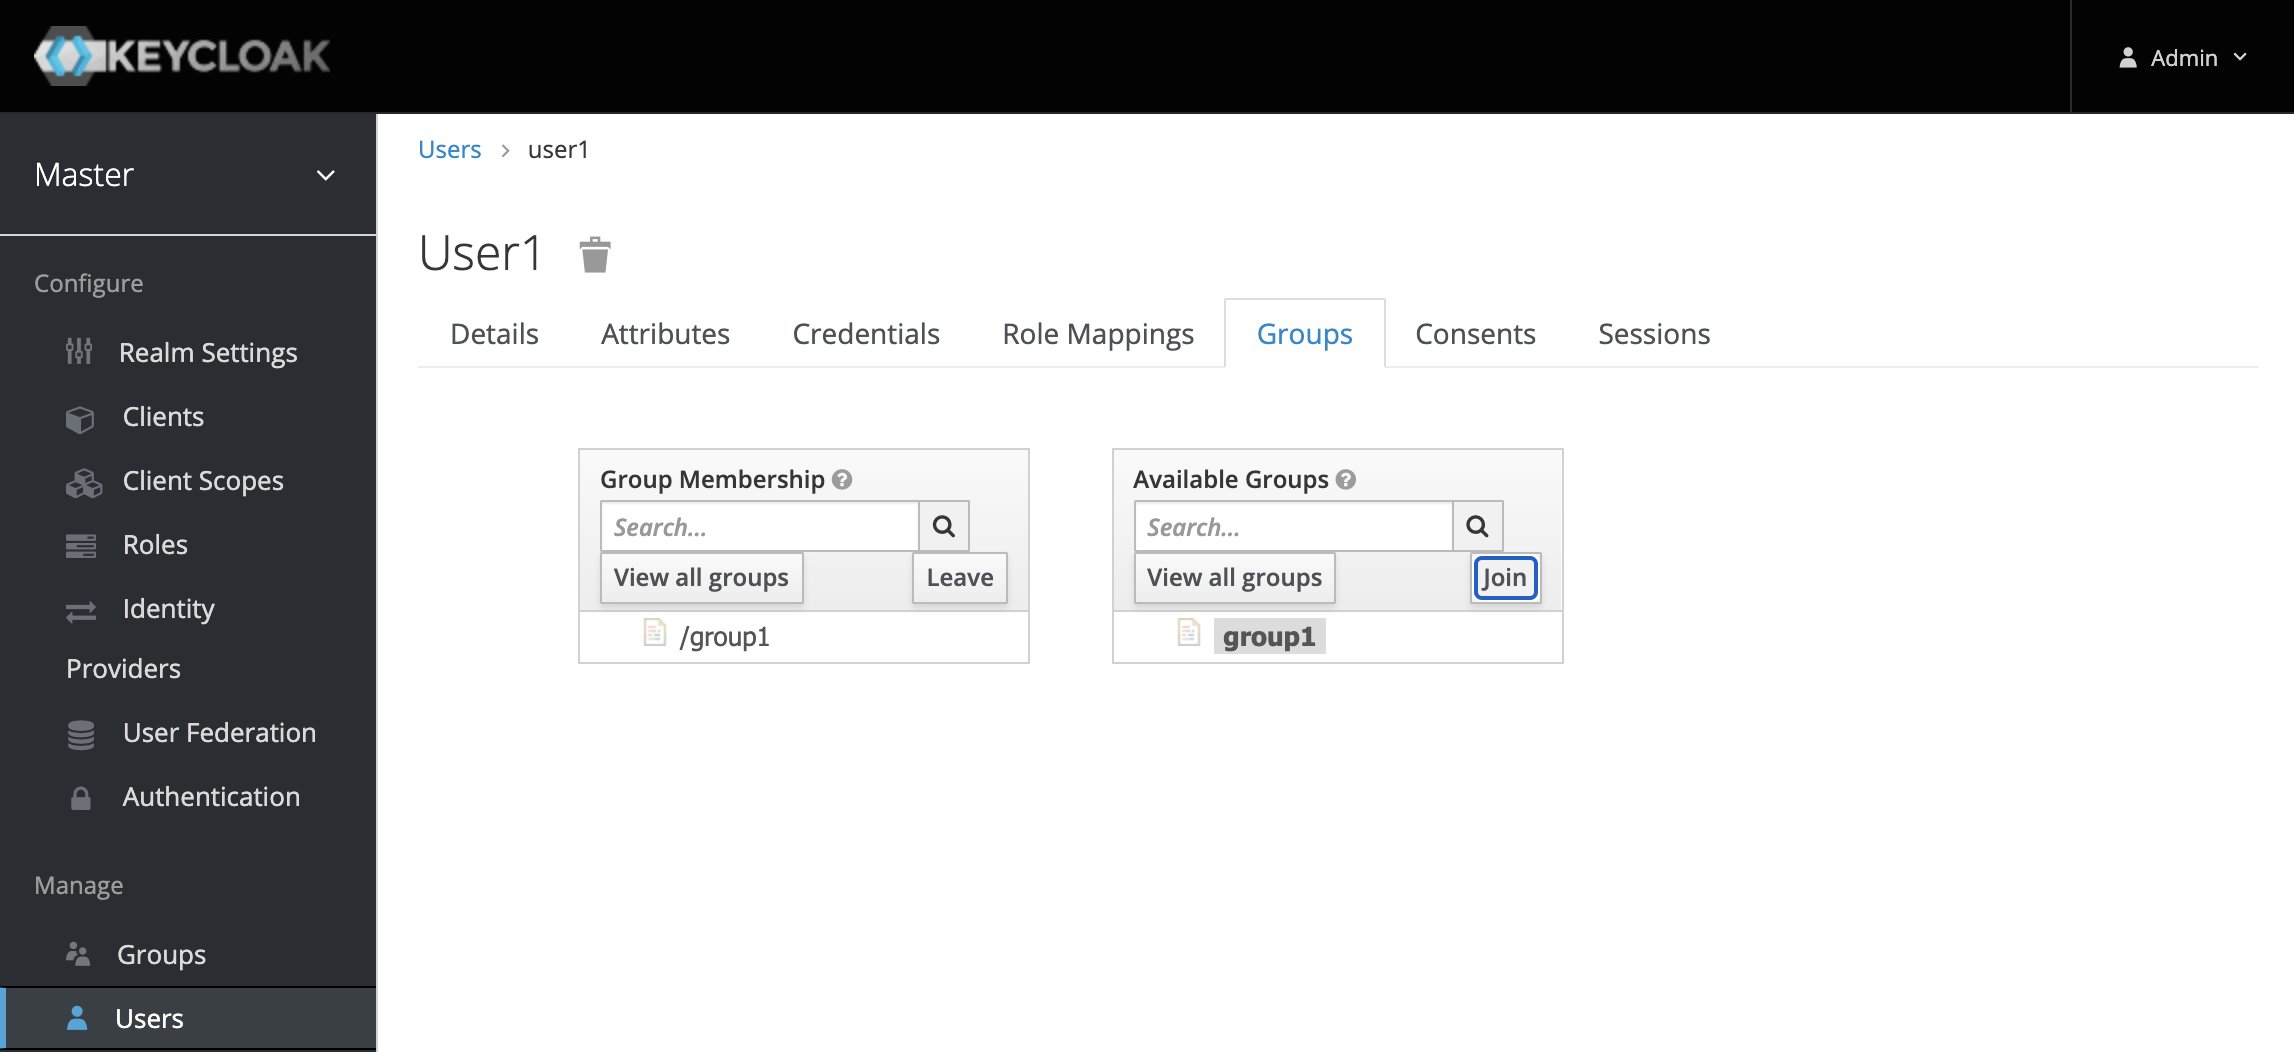
We then need to associate our user to this group. This can be done by navigating to user1, selecting the Groups tab, and joining the user to group1.
The last step is to tell the SAML client how to provide this group information in a SAML response. In order to do this we need to create a mapper in the Mappers tab of the SAML Client.
The Mapper Type should be Group List and the name can be anything you like. Leave the default attribute name of member, set the Name Format to Basic, and toggle the Full Group Path to OFF.
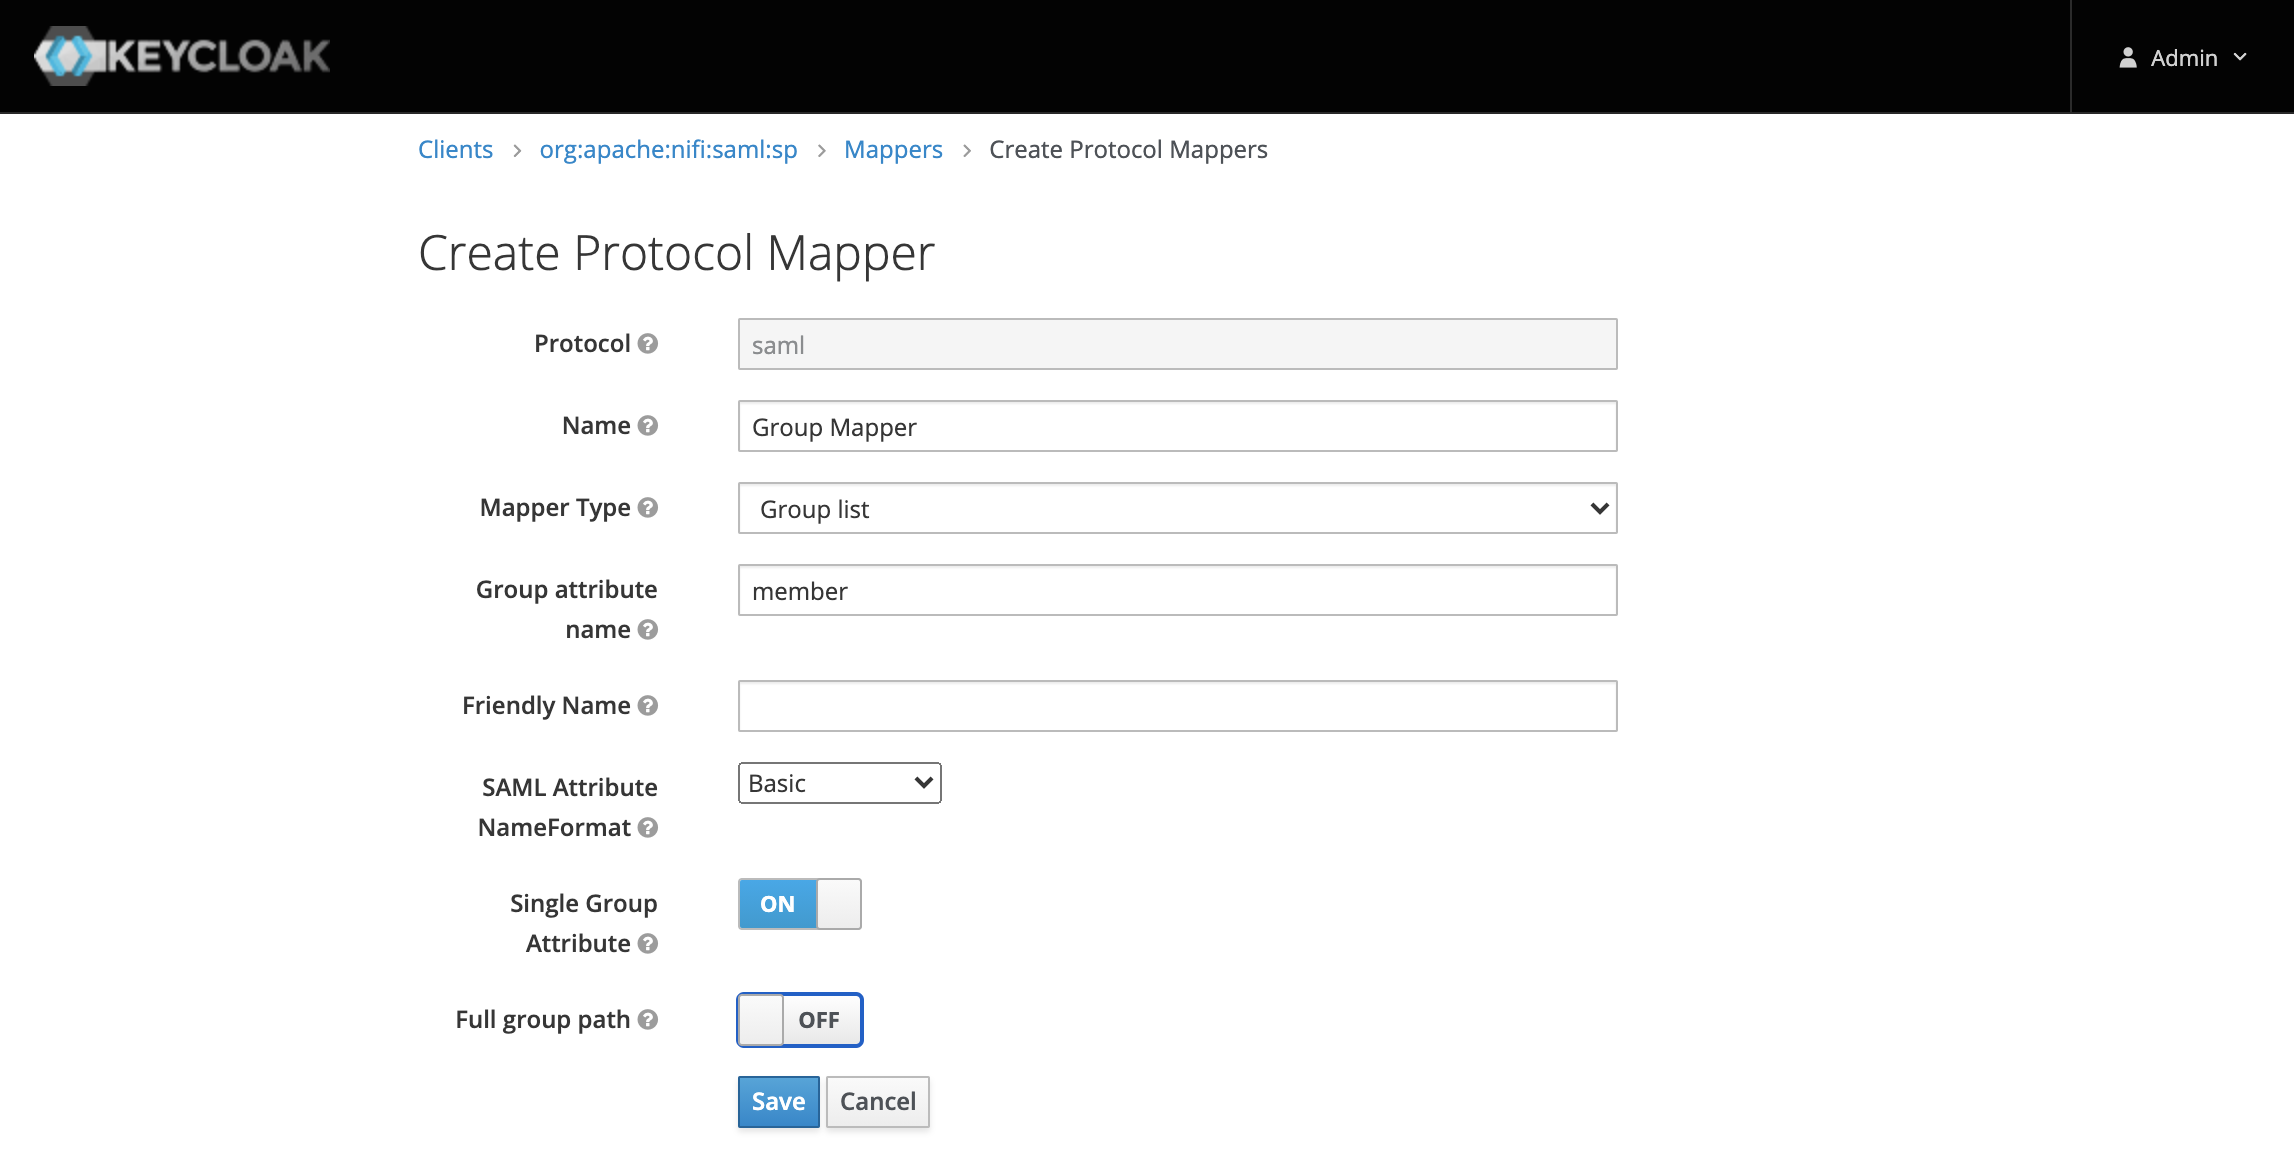
The result of this mapper is that each SAML response contains an attribute named member where the value is a list of the groups the user belongs to. We then have to also tell NiFi the name of this attribute by configuring the follow value:
nifi.security.user.saml.group.attribute.name=member
We’ll need to restart NiFi after making this change.
At this point, we still have the disabled toolbar, but now we can fix that. Since we are using the file-based providers for authorization, we have to tell NiFi about the existence of group1, so that we can create policies using that group.
We can add a new group by selecting Users from the menu in the top right, and then clicking the icon to add a new user/group.
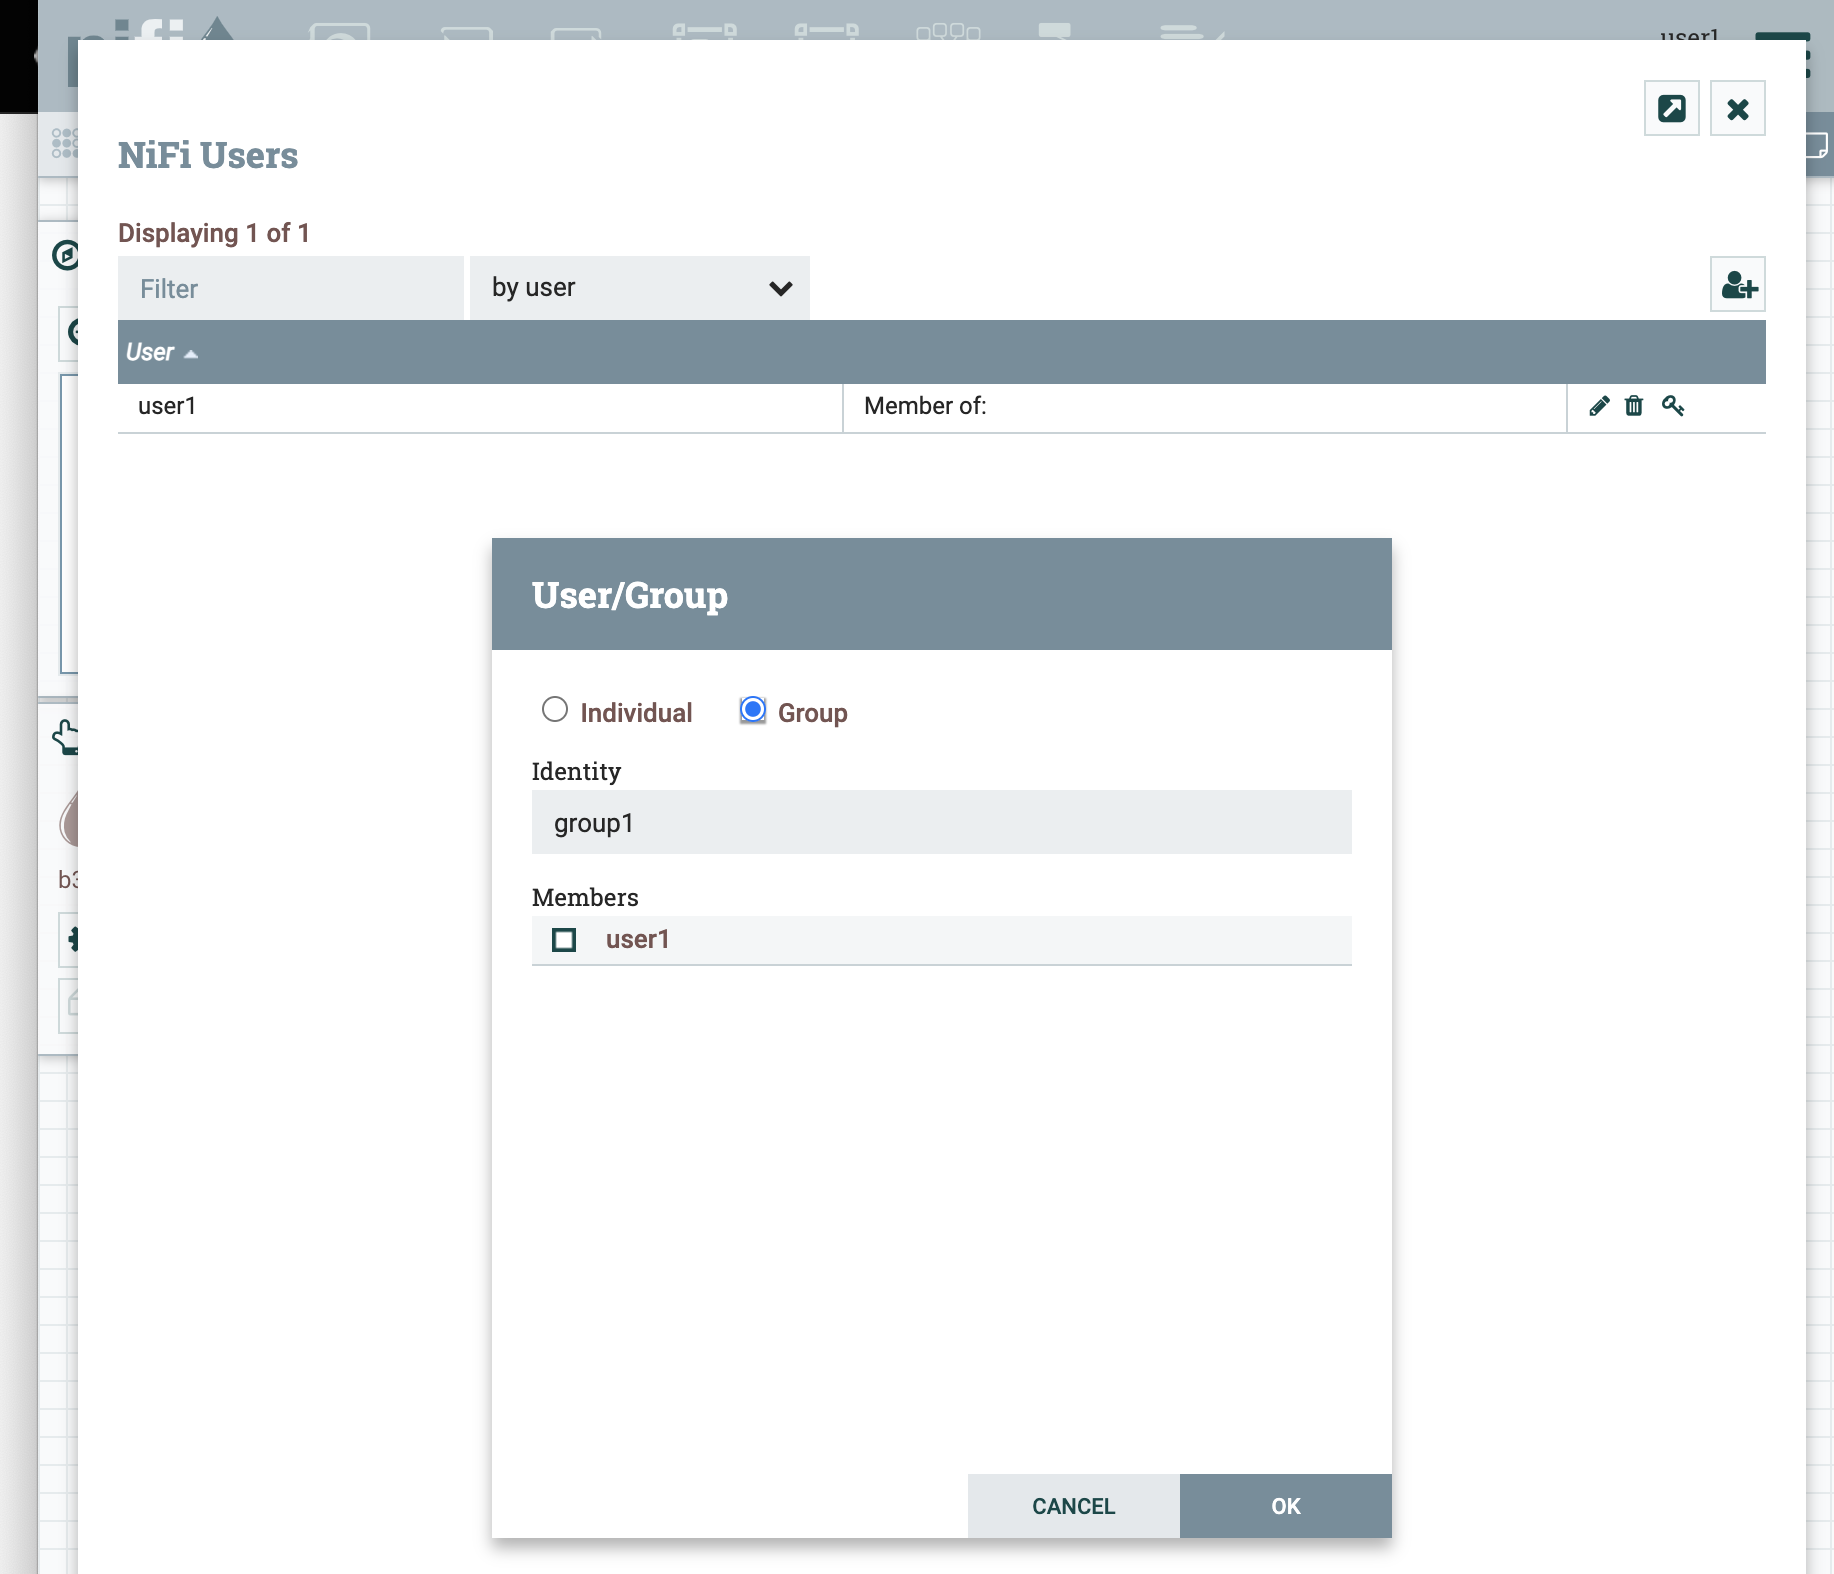
We don’t need to worry about maintaining the group membership in NiFi because the SAML response is going to tell NiFi that user1 belongs to group1, so we can leave group1 empty.
Now we can create policies on the root process for “view the component” and “modify the component”. To create a policy on the root group, make sure nothing else on the canvas is selected and click the key icon in the palette on the left.
The policies should look like the following:


In order to see these policies take effect, we need to re-authenticate to NiFi via Keycloak so that NiFi gets a new SAML response with the member attribute.
So click the Logout link which will bring you to the logout landing page, and then click Home which will start the login sequence again.
Since you should already be logged into Keycloak, this should immediately go back and forth between Keycloak and NiFi, and you should now see the toolbar enabled.
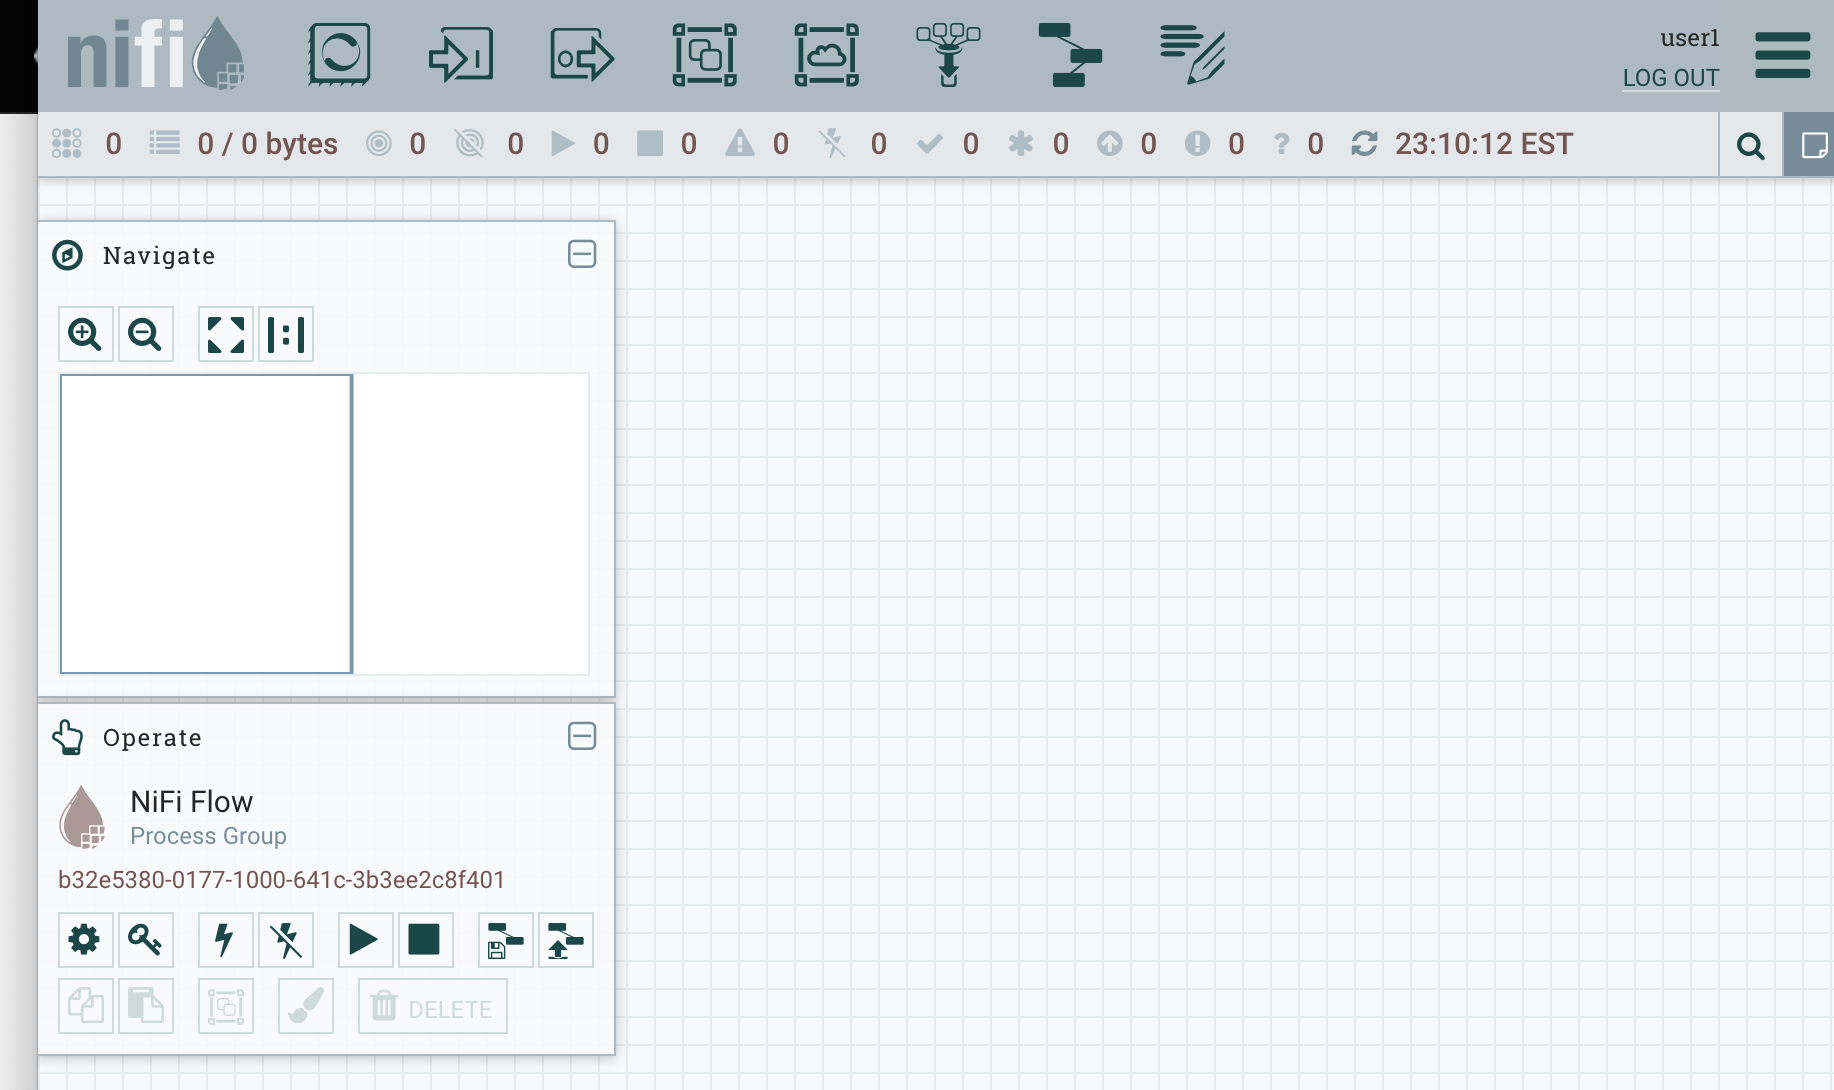
That’s all for this post, happy SAML’ing!
blog comments powered by Disqus