K3s on Raspberry Pi - cert-manager
In this post we’ll look at deploying cert-manager on K3s and how to use it with the Traefik Ingress Controller to enable TLS.
Background
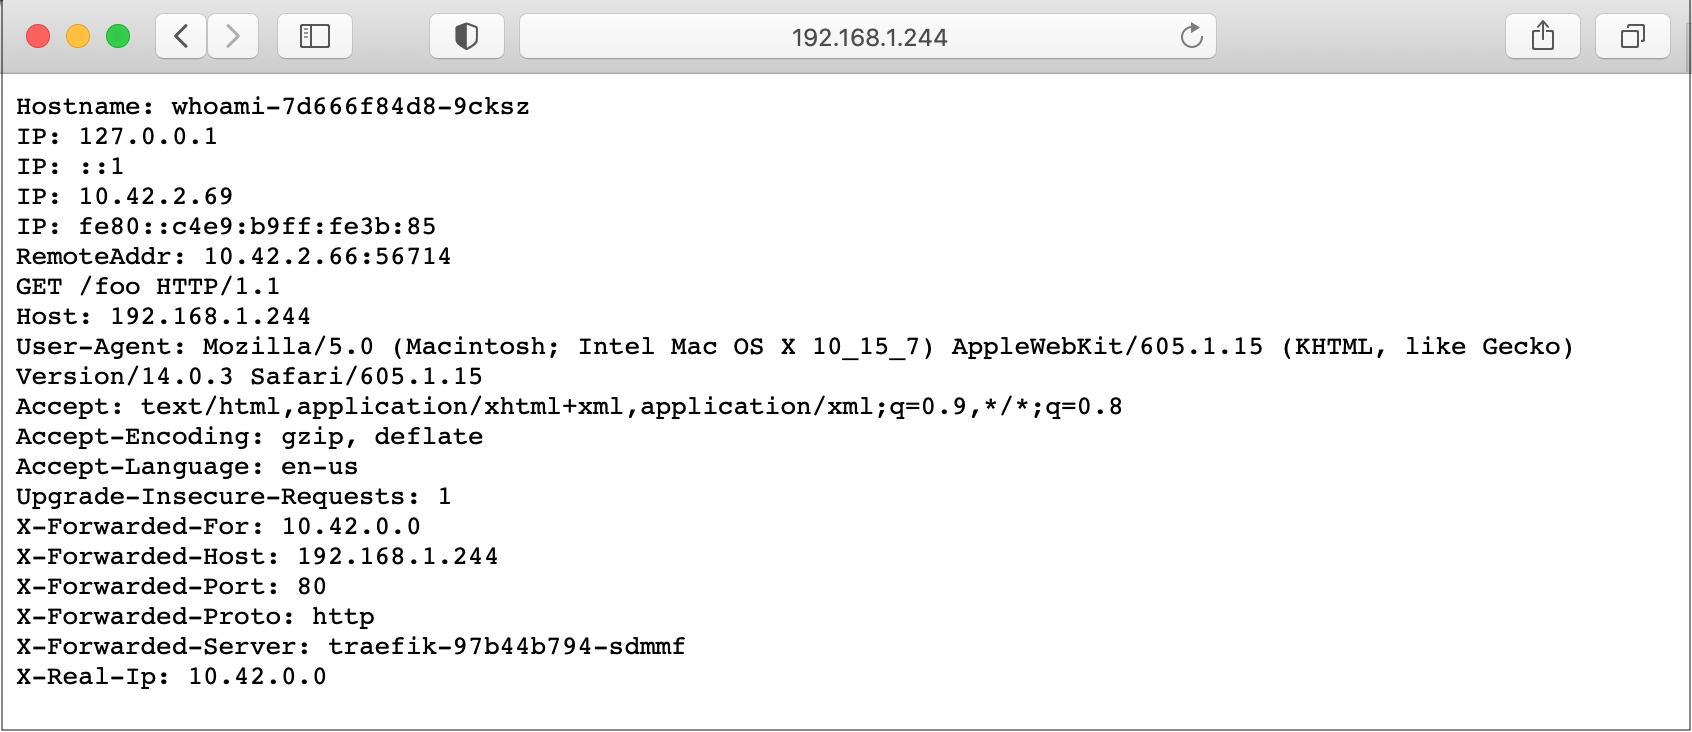
In a previous post, we covered the Traefik Ingress Controller and created an example deployment using the whoami container, along with an ingress over http. We can use the IP address of any node, such as http://192.168.1.244/foo, and get a response like the following:

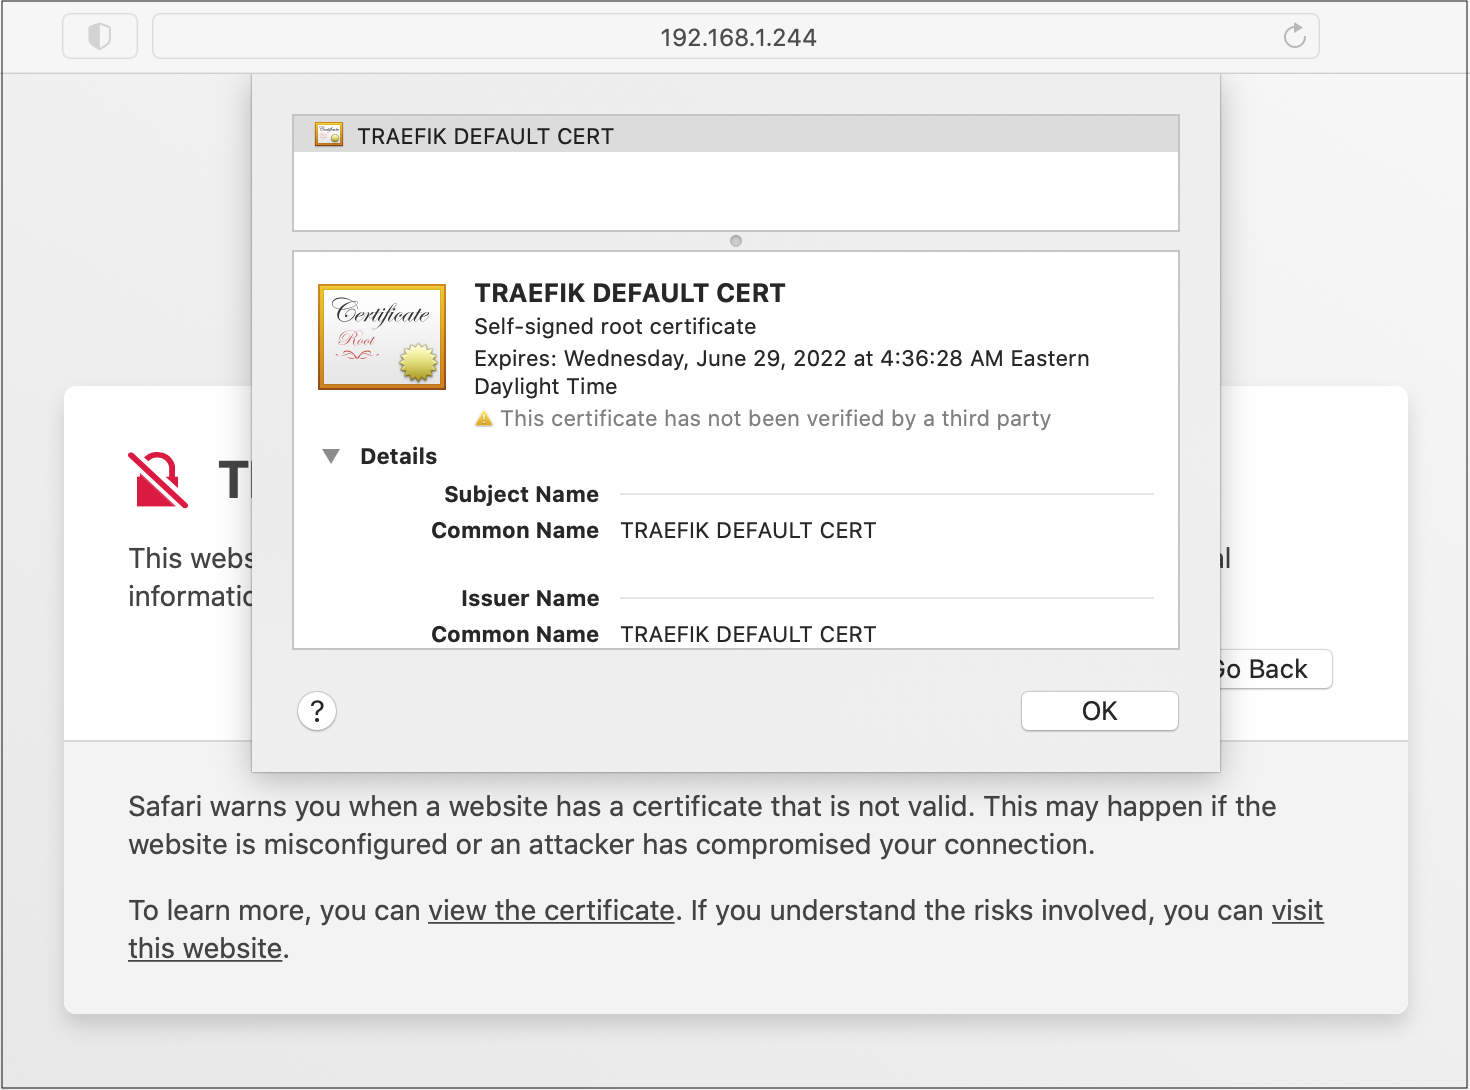
If we change the URL to https, we get a warning about about a self-signed certificate. Clicking View Certificate, shows a self-signed Traefik certificate, and if we accept and continue, we get a 404 Not Found.

This is because the whoami ingress doesn’t have TLS enabled and the request is falling back to Traefik’s default https handling. We can fix this by deploying cert-manager and using it to request a certificate for the whoami ingress.
Deploying cert-manager
The cert-manager documentation covers the options for installing cert-manager on Kubernetes. We are going to use the manifest approach with a slight modification to ensure that arm images are used.
curl -sL \
https://github.com/jetstack/cert-manager/releases/download/v1.3.1/cert-manager.yaml |\
sed -r 's/(image:.*):(v.*)$/\1-arm:\2/g' > cert-manager-arm.yaml

kubectl create namespace cert-manager
kubectl create -f cert-manager-arm.yaml
This approach came from the article Make SSL certs easy with k3s.
After all of the resources are created, we should eventually see three running pods:
kubectl get pods --namespace cert-manager

NAME                                       READY   STATUS
cert-manager-webhook-7c58d9689f-74j7c      1/1     Running
cert-manager-7c5b8cb7cf-nzz64              1/1     Running
cert-manager-cainjector-67df6b6b68-lzkng   1/1     Running
At this point, we can follow the steps from the cert-manager documentation to verify the installation is working correctly.
Traefik Ingress with cert-manager
In order to obtain certificates from cert-manager, we need to create an issuer to act as a certificate authority. We have the option of creating an Issuer which is a namespaced resource, or a ClusterIssuer which is a global resource. We’ll create a self-signed ClusterIssuer using the following definition:
apiVersion: cert-manager.io/v1
kind: ClusterIssuer
metadata:
  name: self-signed-issuer
spec:
  selfSigned: {}
We can then update the whoami ingress to obtain a certificate from the ClusterIssuer and enable TLS. This is done by adding the following annotations:
cert-manager.io/cluster-issuer: self-signed-issuer
traefik.ingress.kubernetes.io/router.tls: "true"
The spec also needs a new tls section to specify the hostname and the name of the secret that will store the certificate created by cert-manager:
tls:
- hosts:
  - whoami
  secretName: whoami-tls
The full ingress definition looks like the following:
apiVersion: networking.k8s.io/v1
kind: Ingress
metadata:
  name: whoami-tls
  namespace: whoami
  annotations:
    kubernetes.io/ingress.class: "traefik"
    cert-manager.io/cluster-issuer: self-signed-issuer
    traefik.ingress.kubernetes.io/router.tls: "true"
spec:
  tls:
  - hosts:
    - whoami
    secretName: whoami-tls
  rules:
    - host: whoami
      http:
        paths:
          - path: /bar
            pathType: Prefix
            backend:
              service:
                name: whoami
                port:
                  number: 80
          - path: /foo
            pathType: Prefix
            backend:
              service:
                name: whoami
                port:
                  number: 80
After creating this ingress, we can inspect the whoami-tls secret:
kubectl --namespace whoami describe secret whoami-tls

Name:         whoami-tls
Namespace:    whoami
Labels:       <none>
Annotations:  cert-manager.io/alt-names: whoami
              cert-manager.io/certificate-name: whoami-tls
              cert-manager.io/common-name:
              cert-manager.io/ip-sans:
              cert-manager.io/issuer-group: cert-manager.io
              cert-manager.io/issuer-kind: ClusterIssuer
              cert-manager.io/issuer-name: self-signed-issuer
              cert-manager.io/uri-sans:

Type:  kubernetes.io/tls

Data
====
ca.crt:   1017 bytes
tls.crt:  1017 bytes
tls.key:  1679 bytes
The secret type is kubernetes.io/tls and the data holds the CA certificate, the whoami public certificate (tls.crt), and the whoami private key (tls.key).
In order to access the whoami service via https, the hostname of the URL must match the hostname of the certificate, which in this case is whoami. To make this work, we can modify /etc/hosts so that whoami maps to the IP address of one of our nodes.
192.168.1.244 rpi-1 whoami
192.168.1.245 rpi-2
192.168.1.246 rpi-3
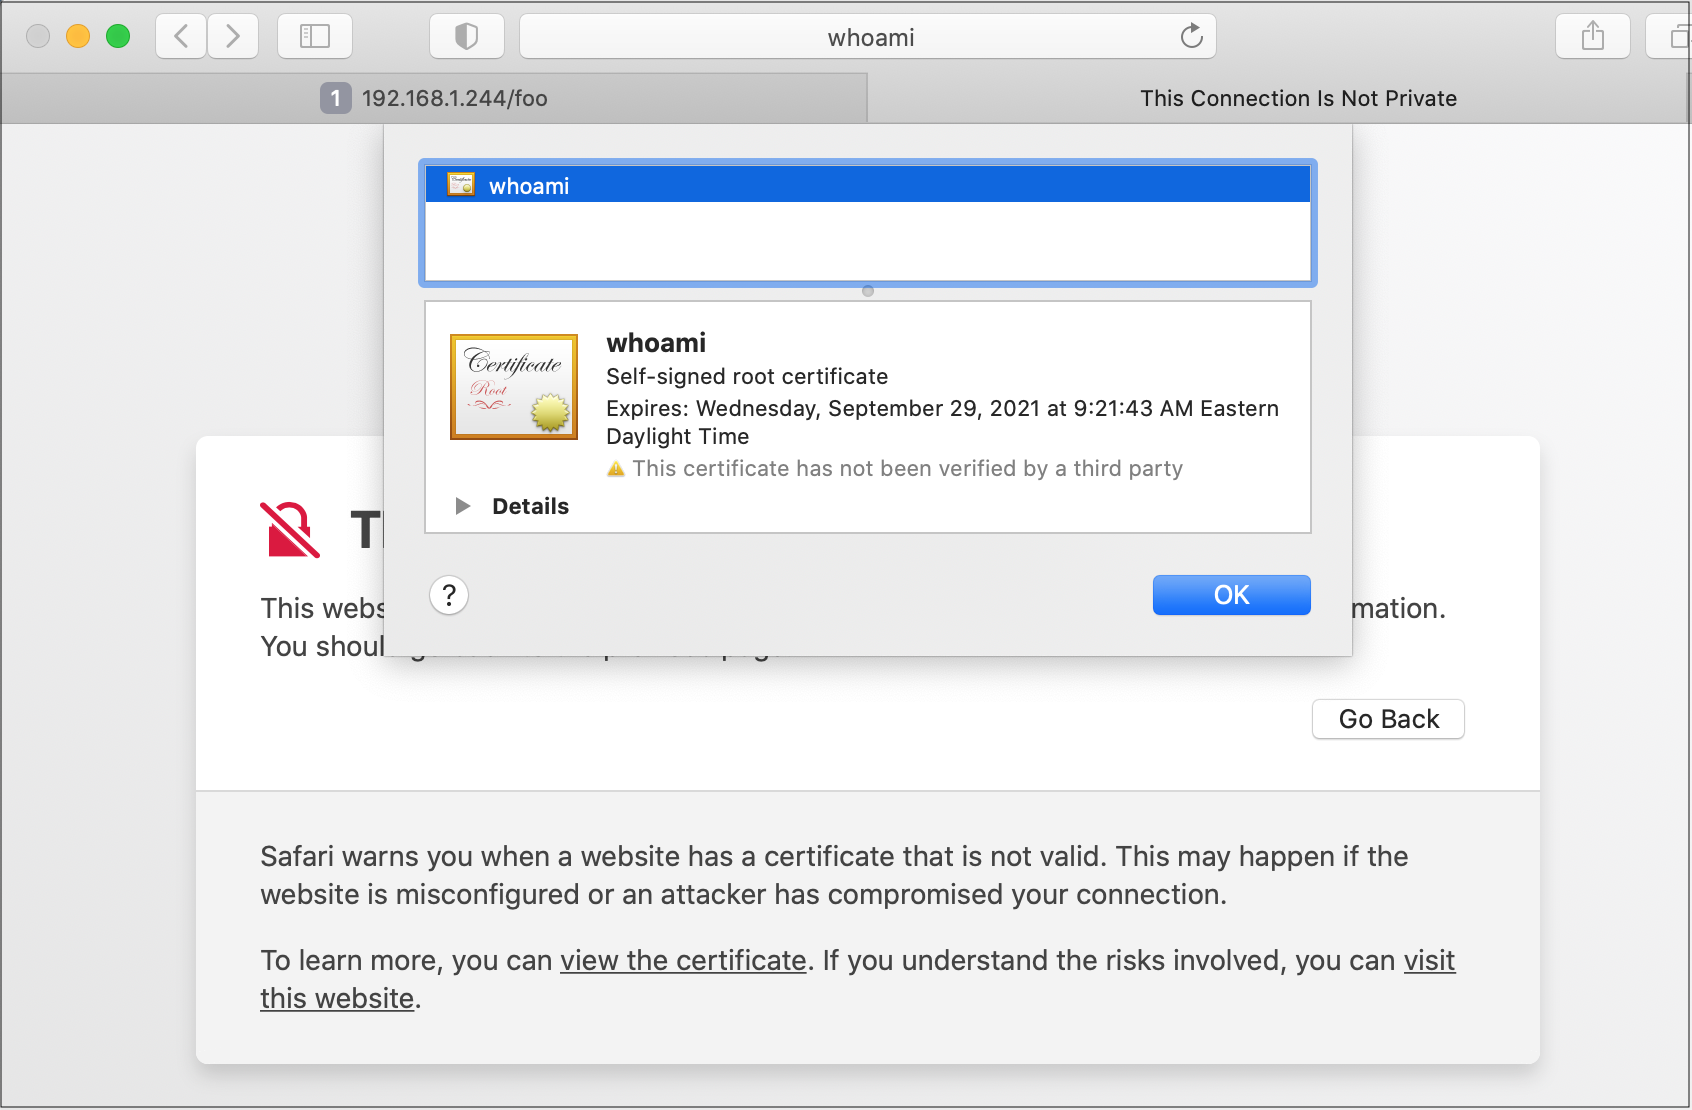
Now if we access https://whoami/bar in our browser, we still get a warning about a self-signed certificate, but this time the certificate is the whoami certificate and not the default Traefik certificate.

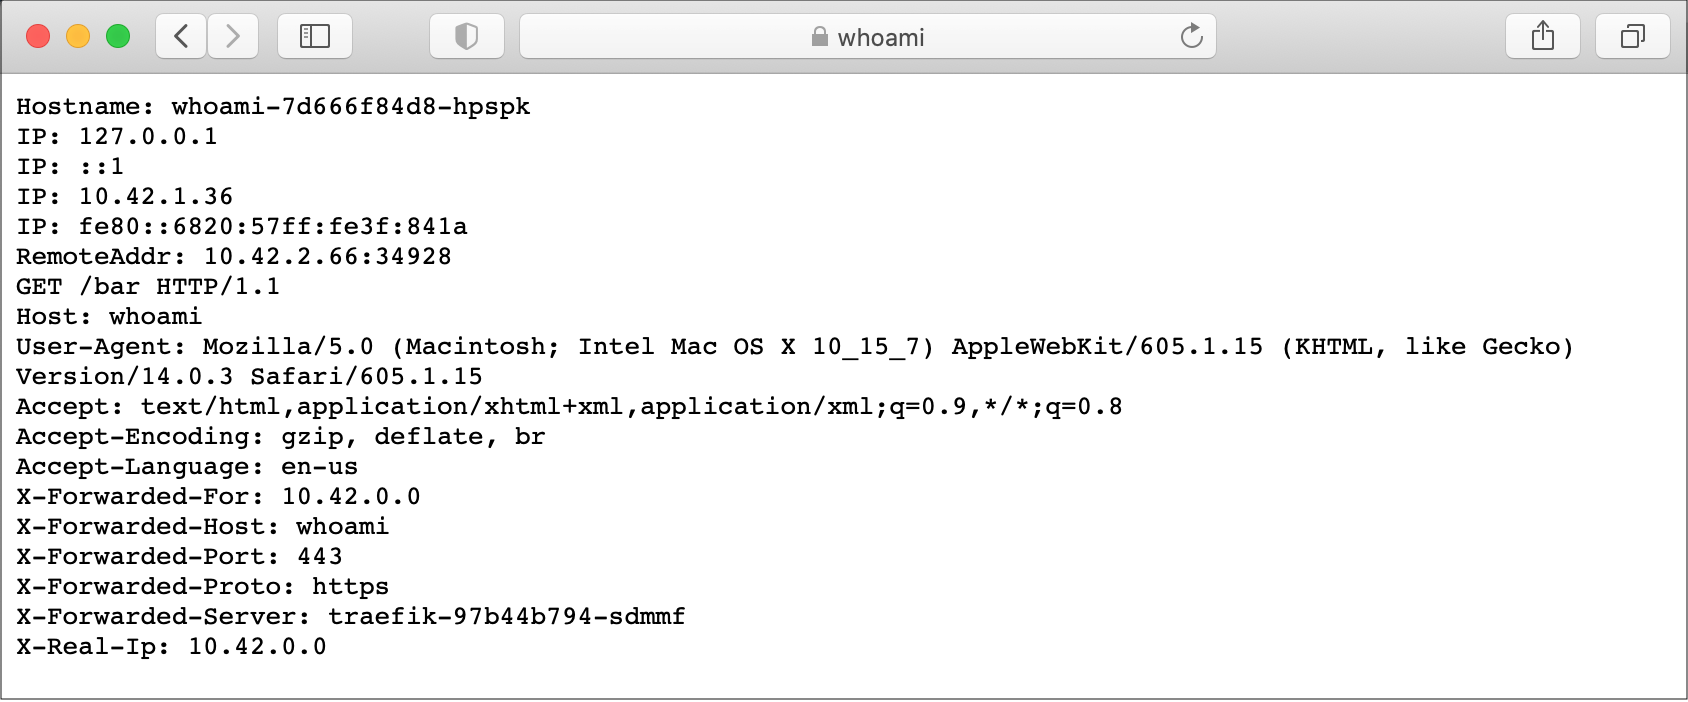
If we accept the warning and continue, we now get a successful response!

blog comments powered by Disqus